I remember the first time I put an e-collar on my anxious Labrador at the park. My heart was racing with worry and hope. I wanted a tool to help us communicate better, not scare him.
This is why I wrote this guide. It's to show you how to use dog training collars safely. This way, you can build trust, not fear.
In the sections below, I'll cover how to use dog training collars correctly. We'll start with respect, impulse control, and clear cues. It's important to introduce tone and vibration first, then find your dog's recognition level.
We'll also talk about starting at the lowest stimulation and watching for subtle reactions. Modern remote collars work like invisible leashes. They have vibration, tone, stimulation levels, and are waterproof. They even have GPS options.
I'll also explain why I avoid cheap units. They give inconsistent feedback. If you're wondering about shock collars, this guide focuses on using them lightly and ethically. We'll also talk about layering the collar into a broader training plan.
Key Takeaways
- Collars are a communication tool when used safely and with a solid training foundation.
- Introduce tone and vibration before testing stimulation on your dog.
- Start at the lowest level and watch for subtle signs of recognition.
- Choose quality units; avoid cheap, inconsistent devices.
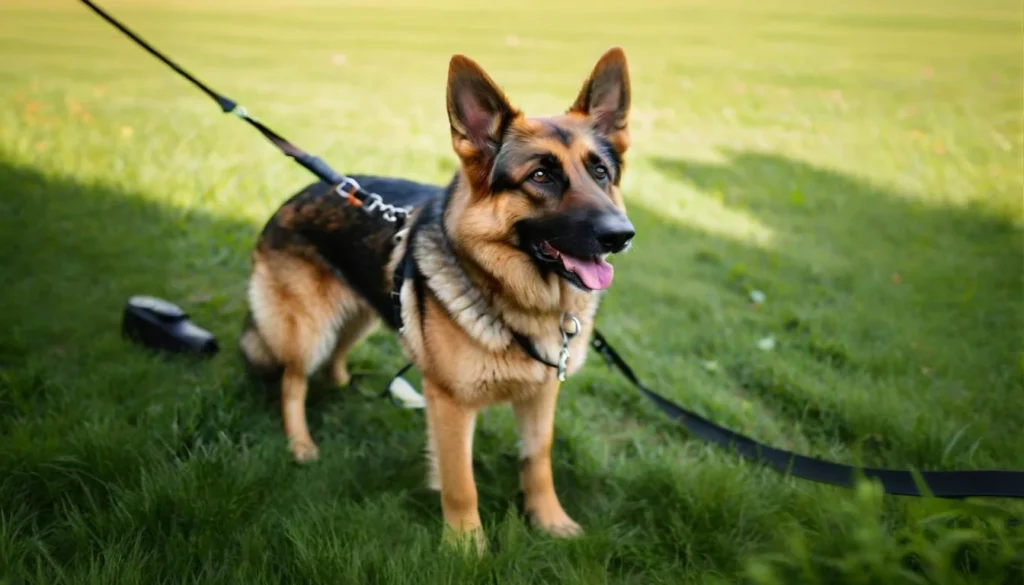
- Use collars alongside longlines and secondary collars for early training.
- Always prioritize trust, ethical use, and local regulations when training.
Why I consider collar training as a communication tool
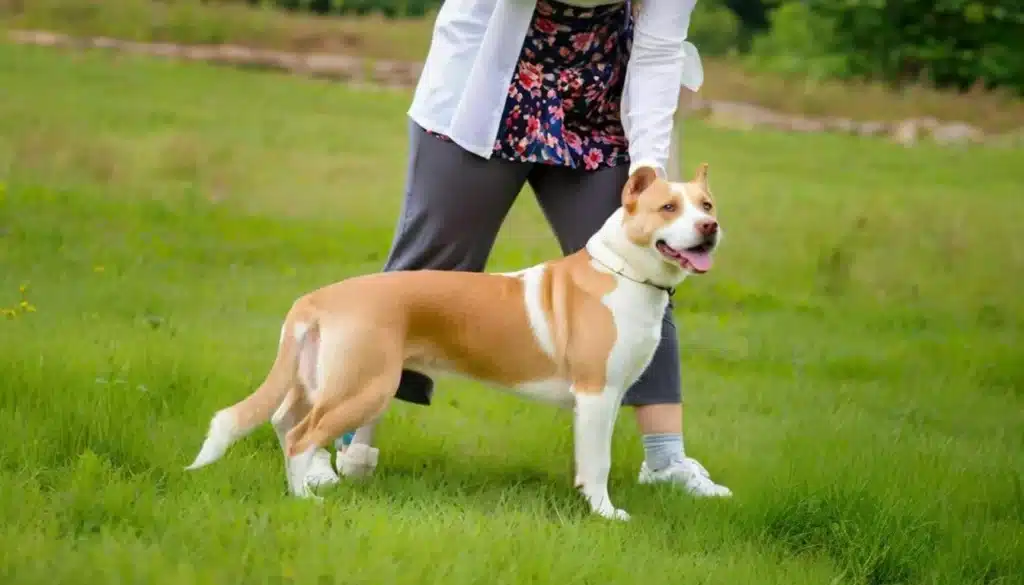
I see a remote training collar as an extension of my body language. It lets me communicate with my dog from a distance. This is useful for off-leash recall, road safety, or long hikes. Learning to use it effectively means combining it with voice and posture.
Collars act like a remote leash when I'm not close to my dog. Brands like SportDOG and Garmin make units that mimic a dog's natural communication. I focus on using the collar in a way that's clear and consistent.
I always keep in mind that the collar is for communication, not punishment. My goal is to send a clear message that lets the dog choose to follow it. If I accidentally use too much intensity, I lower it and reward calm behavior.
I only use an e-collar after my dog has learned basic skills. I prefer to use positive methods first. The e-collar helps with recall, stopping chasing, and managing dangerous situations where I can't intervene.
Trainers I respect say beginners should work with an experienced trainer before using an e-collar. Misuse can confuse or worsen problems. I use the collar carefully, as part of a relationship-based program. It's a temporary tool, not a permanent solution.
Choosing the right dog training collar for safety and effectiveness
I carefully choose my gear for training. The right dog training collar is key for safety, comfort, and success. It helps me teach my dog clearly and fairly.
Low-cost collars can be unreliable and may not work well in wet conditions. I prefer high-quality models like the Mini Educator by ECollar Technologies. They offer consistent output, are waterproof, and have long battery life. This makes training more predictable and safe for my dog.
Features I look for: vibrate, tone, stimulation range, waterproofing, range/GPS
I seek collars with multiple modes. This lets me start with a tone or vibrate before using a stimulation. A wide stimulation range, like 0–100, allows for gentle corrections. Clear cues and waterproofing are essential for outdoor training.
For large areas, I look for GPS tracking. This helps me find my dog when needed.
Sizing and strap design that fit my dog comfortably
Contact points must touch the dog's skin for the collar to work. I fit the collar snugly, like a belt. I trim the strap to about 3–4 inches for adult dogs and 6 inches for growing ones.
Beveled strap tips make threading easier and reduce wear. I choose durable buckles and soft straps to avoid chafing. For leash training, I use a non-metallic collar to avoid interference.
How I fit the remote dog training collar properly
I prepare carefully before fitting the collar to my dog. I make sure the transmitter and receiver are charged and turned off. I test the unit in my hand, using a short vibrate and a very low stimulation to confirm both functions work. This step keeps me confident about how the collar will behave when it's fitted.
I follow a simple sequence when fitting a collar so the dog stays comfortable. I have the dog stand while I place the receiver low on the neck, with the prongs touching skin. I check that the strap sits flat and that the contact points rest against fur without digging in.
I perform a one-finger check to gauge snugness. One finger should fit between the strap and the neck. This ensures the collar stays in contact during movement but does not pinch. I avoid fitting the unit while the dog is seated or rolling, because posture changes the way the collar sits.
I reconfirm fit after a few hours and again the next day. I watch the contact points for redness or irritation. If the dog shows any sensitivity, I adjust strap length or trim excess so the prongs touch the skin without pressure.
I often let the dog wear the collar for several days before I begin active work. Letting the dog wear the collar helps it treat the device like any other collar. This makes corrections clearer during training because the dog links the cue with behavior, not just the collar’s presence.
When I train, I blend practical checks with learning steps so safety stays first. I use these habits whether I’m showing someone how to use e collar for dog training or explaining how to use sportdog training collar features. Clear, calm fitting prevents surprises and helps me teach how to use dog training collar correctly.
| Step | Action | Why it matters |
|---|---|---|
| Charge and test | Fully charge transmitter and receiver; test vibrate and low stimulation on your hand | Confirms device functions before fitting and prevents accidental corrections |
| Proper placement | Place receiver low on neck with prongs contacting skin; dog should be standing | Ensures reliable contact and consistent signals during movement |
| One-finger check | Fit strap so one finger fits comfortably between collar and neck | Balances snug contact with comfort to avoid chafing or slippage |
| Wear-in period | Let dog wear collar several days before active training | Helps dog ignore the collar and links corrections to behavior, not presence |
| Periodic checks | Recheck fit after a few hours and regularly for skin irritation | Prevents sores and keeps contact points effective and safe |
Introducing tone and vibration: finding my dog’s recognition level
I start tone and vibration training in a quiet place. This helps my dog focus and connect sounds and buzzes with rewards. I keep the sessions short and positive to help them understand.
Starting small in a calm space
I use a two-second tone, then reward and praise right away. I do this for 10–15 minutes a day for two to three days. This teaches my dog to look forward to good things, not fear them.
Step-by-step tone introduction and reward timing
On the first day, I use high-value treats to keep my dog interested. On the second and third days, I add toys and praise to mix things up. When my dog looks at me on the tone, I reward them quickly. This consistent reward is key to using a dog training collar well.
Testing vibrate and low stimulation on myself first
Before using the collar on my dog, I test it on myself. I check how it feels and how the button works. This helps me understand what each level does and avoid surprising my dog.
Introducing vibrate to the dog
I start with just the vibrate function, then reward my dog for looking at me. Vibrate is consistent across brands like SportDOG. It helps my dog understand the connection between tone and stimulation.
Short practice loops
I keep the training short and stop when my dog is still interested. If they're calm and focused, I end with a favorite reward. This keeps the training positive and makes it easier for my dog to learn.
Finding the correct stimulation level and testing safely
I start every session with a low setting. When teaching how to use a shock collar for dog training, I begin with the lowest stimulation. I look for small, repeatable reactions to keep training clear and avoid too much intensity.
My first step is a simple, calm check. I test the vibration and a very low pulse on my palm or forearm. This helps me judge how the unit feels. It's useful when explaining how to use an e collar for dog training to owners who are new to it.
I then test the dog while it's relaxed and on a longline. I use short, single pulses at the lowest setting. I look for subtle signs rather than big flinches. Small cues tell me the dog has felt the stimulus.
Signs I watch for
- Head turn toward the collar or handler
- Ears flicking or a brief pause in motion
- Curious scanning of the environment
- Light scratching at the contact points
When I see one of these cues consistently, I note that level as the dog’s recognition point. I treat that as the baseline for communication. I never use higher settings as a default for cues used in everyday training.
My testing routine follows a clear order. I feel the unit on my skin. I try vibrate and low stim briefly. I check the dog in a low-distraction spot. I increase only in small steps until a repeatable response appears. After any higher-level correction, I return the dial to the base recognition level.
When explaining how to use dog training collars to new handlers, I stress safety and record-keeping. I write down the base level and the conditions of the test. This helps keep cues predictable and keeps the dog confident during learning.
How I use dog training collar effectively with basic commands
I introduce the collar as a second cue to support commands my dog knows. Sessions are short, clear, and kind. I use the lightest effective level and stop stimulation when the dog complies.
Using the collar with familiar cues makes it predictable. I pair a brief vibrate or gentle stim with the verbal cue. Then, I release at the exact moment of success.
Layering stimulation with commands the dog already knows:
I start by rehearsing a known cue and tapping vibrate or a low stim. I never raise the level to get a response. I press only long enough for the dog to notice, then say the cue, reward, and stop.
Teaching sit with a secondary non-metallic collar and leash:
I fit a soft flat collar above the receiver and clip a short training leash to it. While guiding my dog into a sit, I hold the stimulation button and say “SIT.” I release the stim the instant the dog sits.
Teaching come with a longline and graduated release:
I let the dog roam on a 30-foot longline. If they ignore a recall, I use the recognition-level stim, call “COME,” and gently reel them in with the longline. The moment they move toward me I stop the stim and reward heavily.
Using the collar to strengthen stay and heel:
For stay, I press briefly when the dog edges forward and release when they return to the spot. For heel, I shorten the leash and ask for position. If the dog drifts, a quick stim with the cue “HEEL” brings them back.
| Command | Tool Setup | Stimulation Use | Release & Reward |
|---|---|---|---|
| Sit | Non-metallic collar above receiver, short leash | Hold low stim while guiding into sit | Release on sit, praise, small treat |
| Come | 30-ft longline, receiver on dog | Apply recognition-level stim if ignoring recall | Stop stim once dog moves, heavy reward |
| Stay | Receiver collar alone, short sessions | Brief press when dog breaches boundary | Release when dog returns, gradual increase of duration |
| Heel | Short leash, receiver collar | Quick stim paired with “HEEL” if drifting | Immediate release on correct position, praise |
I use this same framework whether I teach with a basic e-collar or a SportDOG unit. Practical experience taught me how to use e collar for dog training in a way that favors clarity over force. When I choose a SportDOG model I apply the same low-level, timing-focused approach to how to use sportdog training collar so the dog learns clean, consistent cues.
Consistent timing, low levels, and fast release turn the collar into a reliable communication tool. I repeat short, focused drills several times a day rather than long, tiring sessions. That routine keeps learning clear and keeps my dog confident.
How to use dog training collar to stop barking and other nuisance behaviors
I use a remote collar as part of a plan to stop nuisance barking. First, I make sure the collar fits, is charged, and set at the right level. My goal is to teach calm behavior, not to punish.
I start with a vibration or the lowest setting my dog notices. If they ignore it, I increase the setting. I never hold the button down. I press it only when they bark and stop as soon as they do.
I teach the "QUIET" command in short, quiet sessions. I say "QUIET" when I correct them, stop the correction when they stop barking, and reward them right away. I practice this in different places and situations.
For dogs left alone, I consider bark collars with microphones. These devices watch for barking patterns all the time, which is helpful for neighbors and when I'm not there.
I also make environmental changes and add enrichment. I remove things that trigger barking, add exercise, change toys, and watch them closely during risky times. These changes help reduce the need for corrections.
Here's a quick guide I use for dealing with nuisance barking.
| Situation | Initial Cue | Correction Level | Follow-up |
|---|---|---|---|
| Alert barking at window | Vibrate or tone | One step above recognition if ignored | Install visual barrier, add walks |
| Excited barking for attention | Tone then QUIET command | Low stimulation brief press | Reward quiet, teach alternative behaviors |
| Persistent yard barking when alone | Automated bark-detect collar | Timed, consistent correction per bark episode | Increase exercise, supervised yard time |
| Group or social-trigger barking | Vibrate plus verbal cue | One step above recognition; no escalation | Desensitization and controlled social exposure |
Using the collar to correct dangerous behaviors: chasing, digging, jumping
I set up realistic practice to interrupt risky instincts before they become habits. I use controlled triggers like a friend jogging or a bicycle while my dog is on a longline. This lets me rehearse recall and build confidence without danger. Good rehearsal is key to using an e collar for dog training in real-life moments.
When I work on chasing, I keep the dog on a longline and confirm a solid “COME” at a distance. I select a stimulation one step above recognition to break the chase. I press and hold while I call “COME,” then release as the dog returns and reward immediately. I increase distractions gradually so the dog learns to respond under pressure.
I use the same careful steps when I teach digging limits. For garden digging, I stay out of sight so the correction is linked only to the act of digging. I apply a single, timely stimulation at one step above recognition while the dog is actively digging and stop when the dog leaves the area. I follow that with an offered alternative: a shaded spot, a chew toy, or supervised play to meet the dog’s needs.
Stopping jumping starts with a simple rule: no attention until the dog sits. If the dog jumps, I give the “SIT” command and deliver a brief stimulation one step above recognition while asking for the sit. I release as soon as the dog sits and reward. I practice this with family members and visitors so the dog generalizes the behavior across people and places.
I keep all training humane and predictable, which is essential to using a dog training collar correctly. If a dog ignores a properly timed correction, I repeat the cue and increase level only in small, careful steps. I track responses so I never rely on higher levels out of habit.
Below is a quick reference I follow when I address these behaviors.
| Behavior | Setup | Action | Follow-up |
|---|---|---|---|
| Chasing | Longline, controlled runner/bike, gradual distractions | Use stimulation one step above recognition while calling “COME”; hold until return | Release and reward; repeat with higher distraction levels |
| Digging | Out of sight, observe active digging, provide shaded spot and toys | One timely stimulation at one step above recognition while digging | Release when stops; redirect to acceptable area; add supervision |
| Jumping | People present, consistent attention rules, varied locations | Press at one step above recognition while giving “SIT”; release on compliance | Reward sit; practice with different people; raise level only if needed |
Learning how to use dog training collars takes patience, clear timing, and consistent follow-up. I track each session, adjust stimulation to the dog’s signals, and combine corrections with enrichment and routine so the changes stick.
Practical habits I follow: charging, testing, wearing the remote, and trimming straps
I have a simple routine to keep my gear ready and safe. Before training, I charge the transmitter and receiver. I remove them when the light turns green. I avoid charging lithium batteries overnight.
When the light flashes amber or low, I charge them right away. I turn off the units after use to save power and prevent accidental starts.
Before fitting the collar, I test the unit in my hand. I check the tone, vibrate, and a brief stimulation on my palm. This ensures the unit works well and helps me train confidently.
I wear the remote for ease and stability. I clip it to a belt loop or fanny pack. This keeps it steady and prevents it from bouncing.
I practice using the buttons until it feels natural. I know which ones give vibrate or stimulation. This helps me respond quickly during training.
Trimming the straps keeps the receiver comfortable. I leave 3–4 inches of strap for adult dogs, 6 inches for growing pups. I cut the tip to a point for easy threading.
I check that the prongs touch skin without digging. I rotate the contact points and inspect for sores. I replace worn straps and keep the rubber plugs sealed to protect waterproofing.
By repeating these habits weekly, I ensure safe and reliable use. They help me use the dog training collar correctly, improve training, and extend my equipment's life.
Conclusion
I use e-collars as a precise communication tool only after I build trust, impulse control, and reliable basics with my dog. Choosing quality gear is key. I make sure the collar fits right, touching the skin, and introduce tone and vibration first.
My routine focuses on humane settings and conservative timing. I find the lightest recognition level and layer stimulation with commands the dog already knows. I reward compliance every time. This shows how to use dog training collar effectively while protecting our bond.
Practical care is important too. I test units on my hand, charge responsibly, and wear the remote for quick access. I also trim straps for comfort. If I’m unsure, I consult an experienced trainer to refine how to use e collar for dog training and ensure safety and ethics.
Used sparingly and paired with enrichment and problem-solving training, an e-collar can improve off-leash safety, recall, and reduce dangerous or nuisance behaviors. My goal is always the same: dependable communication that supports a calm, confident dog and a stronger partnership.