I remember the first time my Labrador, Milo, ran out the door. My heart fell as I ran after him. This moment made me want to learn how to train him to stay.
Learning this skill changed our walks and quiet mornings. It brought calm to our home. Teaching Milo to stay was a game-changer.
In this guide, I'll share dog training techniques to teach a dog to stay. We'll cover the three Ds: duration, distance, and distraction. Plus, how to train a release cue and solve common problems.
We'll also talk about adapting methods for puppies, senior dogs, and anxious pets. Expect short daily sessions, simple rewards, and steady progress. With patience and the right approach, your dog will learn to stay.
Key Takeaways
- Teaching stay improves safety and everyday life with your dog.
- Short, consistent sessions work best—focus on patience over speed.
- Build stay using duration, then distance, then distractions.
- Use a clear release cue so your dog knows when they can move.
- Adapt techniques for puppies, seniors, and anxious dogs for success.
Why teaching the stay command matters for dog obedience and safety
Teaching a dog to stay is key for good manners and safety. It lets me manage daily tasks and keeps everyone calm. This is especially true around strangers or in busy traffic.
Practical benefits at home and in public
A dog that stays well makes life easier. I can answer the door, set down groceries, or cook without interruptions. Simple commands help the dog understand what to do in busy times.
How a reliable stay helps with grooming, doors, and carrying items
Grooming is safer when a dog stays still. Brushing, ear checks, and putting on a collar are easier. At doorways, a stay prevents rushing or jumping on guests.
While I carry packages or groceries, a well-trained stay reduces mistakes. This keeps items from being dropped.
Safety reasons: roads, visitors, and stressful situations
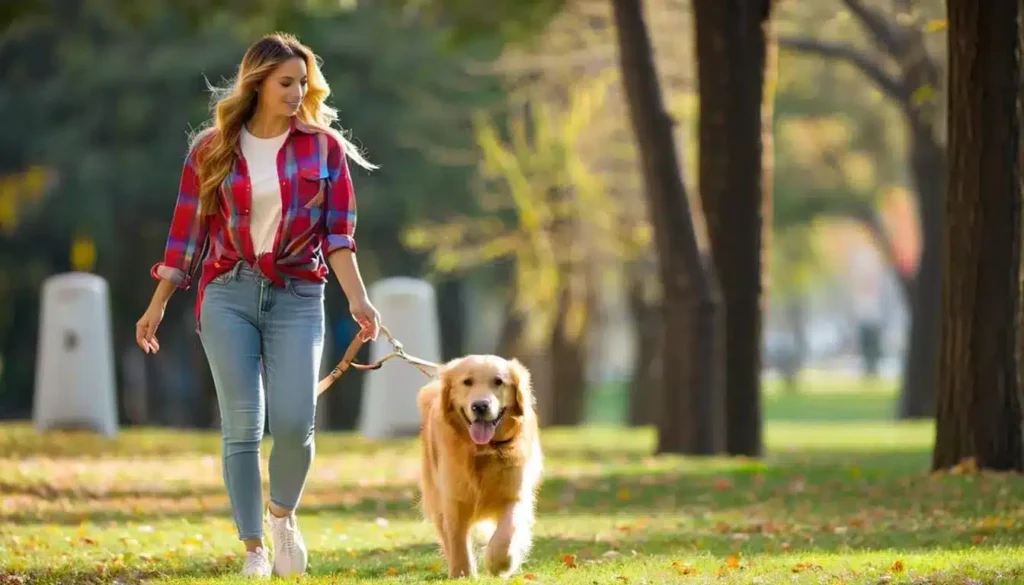
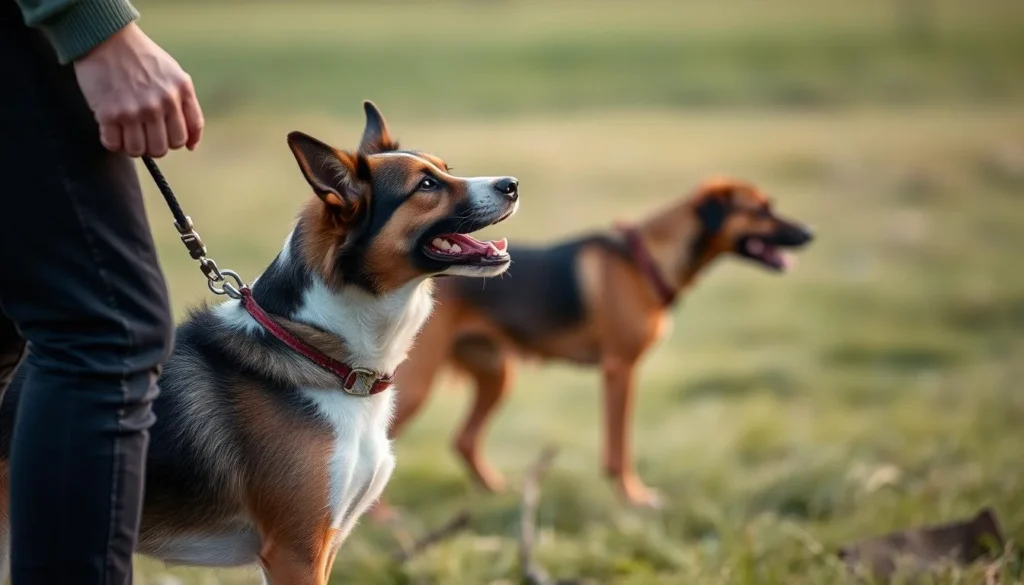
Safety is the main reason for training a stay. A dog that stays won't run into traffic or approach unknown animals. When visitors come or emergencies happen, a steady stay keeps everyone safe.
Reliable stay work is part of broader training tips for dog obedience. As my dog learns to hold position, other commands become easier. Short, consistent practice sessions lead to steady progress and lasting control.
how to train your dog to stay
I teach owners how to train their dogs to stay. First, I explain the difference between stay and wait. Wait is for a few seconds, while stay is until you say it's okay.
Defining the stay vs. wait and the role of a release cue
A reliable release cue is a word that ends the stay. You can choose "free," "release," or "ok." Use this word only for the stay command. This avoids confusion and speeds up learning.
Choosing consistent verbal and hand signals
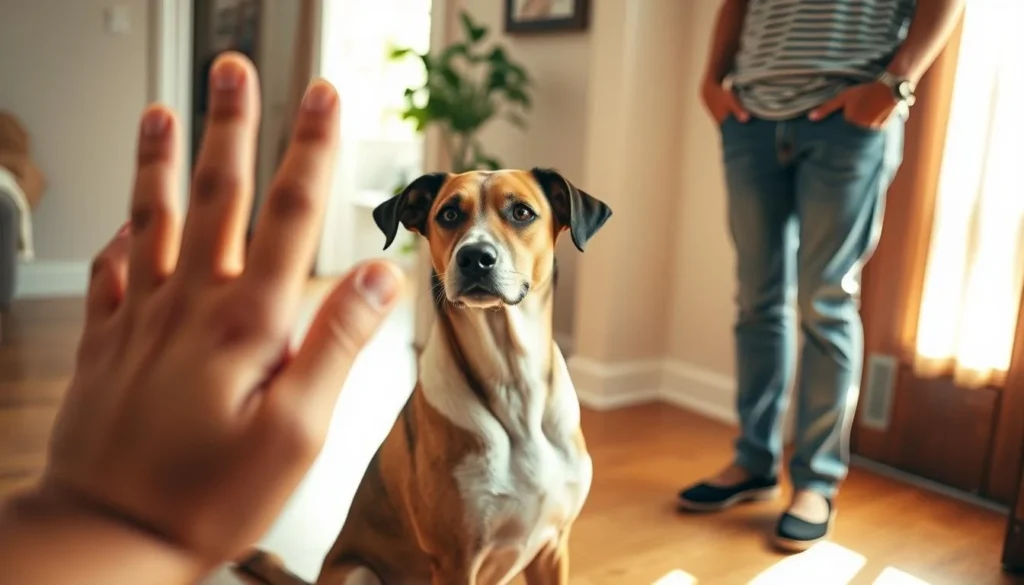
I teach a simple verbal cue like "stay" with a hand signal. The "stop" signal works well. Use the same tone, hand position, and timing every time.
Setting realistic goals based on your dog's age and temperament
Goals should match your dog's age and temperament. Puppies start with short holds. Senior and anxious dogs need gentle progress. Start with short holds, then add distance and distractions.
| Dog Type | Initial Goal | Progression |
|---|---|---|
| Puppy (under 6 months) | 1–3 seconds steady | Increase by 1–2 seconds each session; use treats close by |
| Adult (social, calm) | 5–10 seconds steady | Add steps back, then two steps, then across a room |
| Anxious or reactive | 2–5 seconds with soothing voice | Shorten sessions, reward small wins, introduce distance slowly |
| Senior or mobility-limited | Comfort-first holds of a few seconds | Adjust position, keep rewards high value, avoid strain |
Preparing for training sessions and setting the environment
I make each training session short, calm, and rewarding for my dog. A clear routine helps teach a dog to stay without stress. I keep sessions consistent and stop before my dog gets tired.
I plan for about 10 minutes daily, divided into two or three short sessions. Short, regular practice is better than one long session. This schedule fits busy lives and gives my dog many chances to succeed.
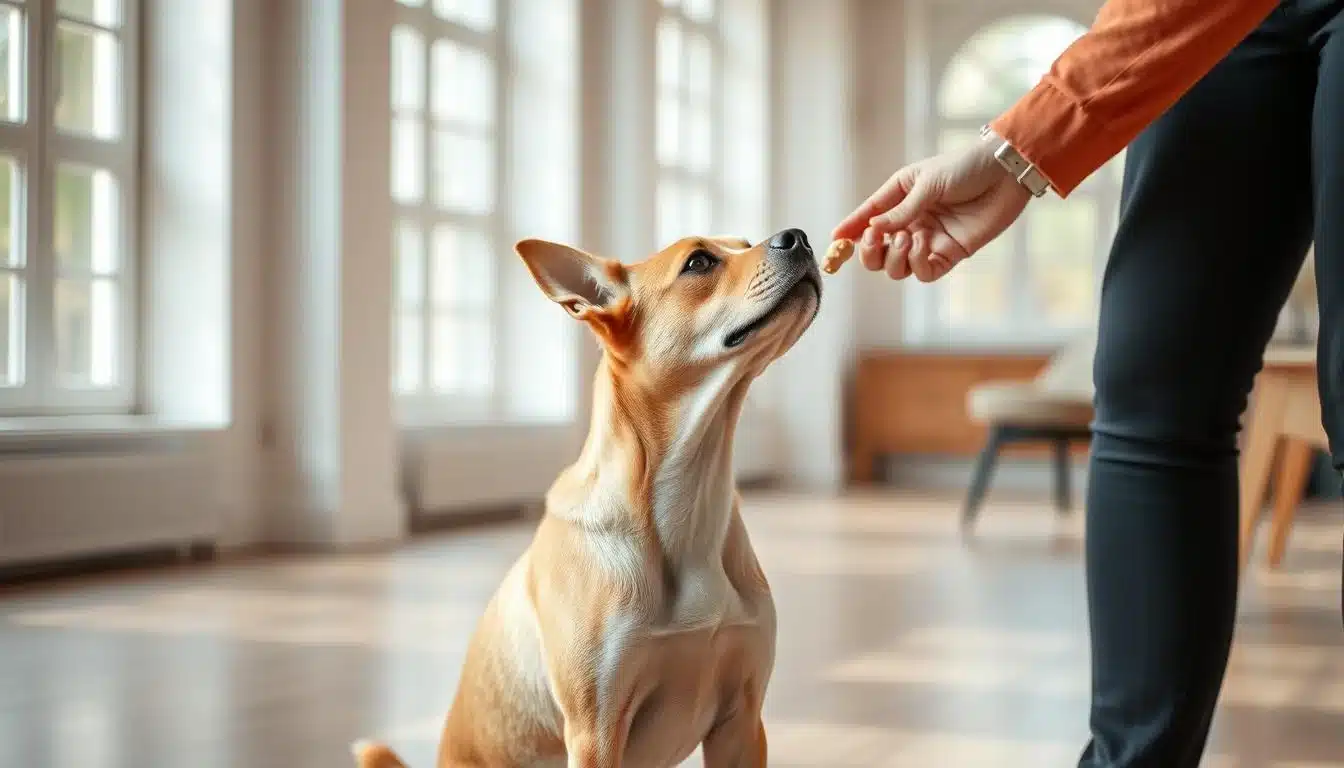
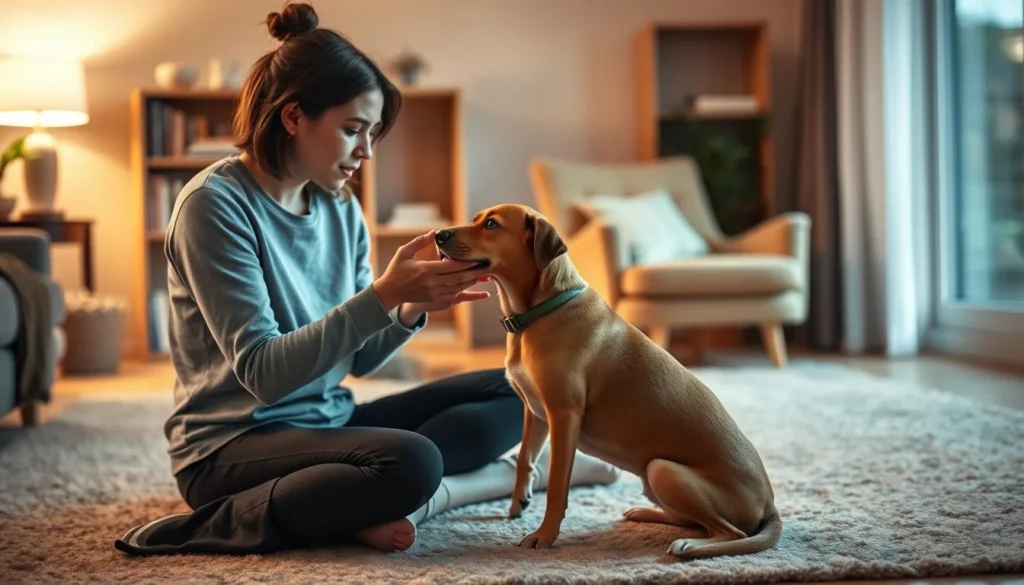
Before starting, I gather high-value treats, a favorite toy, and a plan for verbal praise. I use tasty treats at first and then move to intermittent rewards as the dog improves. Following RSPCA and AKC guidance, I reward the stay rather than the release and reward while the dog remains in position.
I create a quiet space indoors or in a secure yard for training. A comfy mat or bed marks the spot where I ask my dog to stay. For anxious dogs, a secure corner or crate can make them feel safer. Starting calm boosts early wins and helps training work faster.
When training, I watch my dog's body language and stop if they show frustration. I adjust the session length and reward frequency to match their pace. These small choices help reinforce the stay command and build reliable responses over time.
As we progress, I vary the environment and rewards to generalize the skill. This way, I can teach my dog to stay at home, at the park, or when visitors arrive. Gradual changes keep the training strong across real-life situations.
Teaching the release cue to reinforce stay behavior
I teach release words the same way as any core command. I use clear signals, short sessions, and steady practice. A good release cue makes a reliable stay useful everywhere.
I choose a short, distinct word and never use it for anything else. Words like "free," "release," or "break" work well. I avoid common words like "okay" because they get used too much.
Consistency is key when picking a release word. Using the same sound every time helps your dog learn fast.
Exercises to teach the cue
I start with a sit or down, wait one second, then feed a treat while saying the release word. I follow with a gentle pat or step away to encourage movement. I repeat this until my dog only moves after hearing the cue.
Reinforcement and progression
Once my dog gets the release word, I slowly increase the time before releasing. I keep the timing calm and predictable. This helps my dog understand the cue means freedom, not surprise.
Common words and pitfalls to avoid
- I never use the release word for anything but ending the stay. Using it casually ruins its meaning.
- I avoid rewarding movement before the cue. If the dog rises early, I calmly reset without punishment and try an easier step.
- If I use a clicker, I click during the stay, then repeat the stay cue before releasing, so the click does not signal freedom.
I keep commands simple and consistent. Short sessions, clear rewards, and steady progression make learning easier. With these techniques, the release cue becomes a reliable bridge between holding position and earning freedom.
Step-by-step method to build duration for stay
I help owners with a simple plan to increase their dog's stay time. Start with very short times, reward right away, and only add more time when your dog is calm and steady. This method makes stay training feel natural for your dog.
Every session starts with a sit or down, a palm-out hand signal, and "stay." Wait for just a second or two, then give a treat. This follows AKC and RSPCA advice and teaches your dog that staying is rewarded.
I gradually increase the time your dog must stay in small steps. Add a few seconds after each success. If your dog finds it hard, go back to shorter times and reward more often. The goal is slow, steady progress to avoid pushing your dog too hard.
Starting from one or two seconds and building slowly
Start with one or two seconds and keep sessions brief. Reward every success at first. Once your dog can stay for about ten seconds reliably, I start using rewards less often. This makes the behavior stronger without making the reward the only thing your dog looks forward to.
Using hand signals and the timing of treats during the stay
Keep the palm-out hand signal visible the whole time. Give the treat while your dog is still in place. If you use a clicker, click during the stay and then give the treat before letting your dog go. This makes the stay itself valuable in training.
How to reward the stay (not the release) and use intermittent rewards
Reward your dog during the stay to make it worth holding the position. At first, treat every correct stay. Once your dog can stay for ten seconds or more, reward sometimes during the stay and sometimes at the end. Avoid making the release the most exciting part of the exercise.
| Stage | Hold Time | Reward Pattern | Goal |
|---|---|---|---|
| Intro | 1–2 seconds | Every attempt | Teach association: stay = reward |
| Build | 3–10 seconds | Every successful repetition | Consistency and calmness |
| Stabilize | 10–20 seconds | Switch to intermittent rewards | Reinforce stay command without over-reliance on treats |
| Generalize | 20+ seconds | Mixed timing; occasional during-stay rewards | Reliable stay across contexts using dog training techniques |
Adding distance: how to increase space without breaking the stay
I guide handlers through a step-by-step plan for adding distance to a reliable stay. Start this step only after your dog shows steady short-duration holds. This gives the best foundation for distance training for dogs and prevents holes in your obedience training stay command.
Why add distance after short-duration success
I wait until my dog can hold a steady stay for brief periods before moving away. Trainers at the American Kennel Club recommend a consistent duration, often around 30 seconds, before increasing distance. This approach reduces confusion when you begin distance training for dogs and makes learning how to train your dog to stay smoother.
Progression: one step back, two steps, across the room
I use a predictable progression. Take one step back, pause only long enough to return and reward, then build to two steps. Add a few more steps across the room in later reps. Small increases prevent the dog from rising to follow you and keep the obedience training stay command clear.
Always return to reward before releasing to avoid confusion
When I add distance, I always return to my dog to deliver the treat or praise while they remain in position. Rewarding in place teaches that staying earns rewards. Releasing from far away can teach the dog to approach you as a release cue, which undermines adding distance stay work.
I lower duration demands and cut distractions when I first add distance. If a dog breaks, I step back to a shorter distance or shorter hold. I never use punishment. Resetting expectations quickly helps the dog rebuild confidence and keeps progress steady.
Introducing distractions and training through real-world interruptions
I start by saying distractions should come after your dog has mastered basic stays. I follow the American Kennel Club's advice to begin with small steps. This helps the dog learn to stay calm and focused.
Starting with small disruptions
I begin with small disturbances. A single clap, a soft toy drop, or a friend walking by at a distance are good starts. These gentle challenges help the dog succeed and reinforce the stay command.
Gradually increasing difficulty
As the dog gets better, I increase the challenge. I start with light noises and then move to louder sounds, other dogs, or a tossed toy. Each step builds trust and steady progress in distractions stay training.
Resetting expectations for new distractions
When introducing a new distraction, I lower the goals. For example, if the dog stayed calm for two minutes indoors, I start with a few seconds for the first doorbell. This keeps training positive and avoids frustration.
Practical distraction drills
I use simple drills to practice real-world distractions. Drills include clapping near the dog, dropping a toy, someone walking by a window, and ringing the doorbell. I reward calm staying and avoid punishment if the dog breaks.
Where to practice
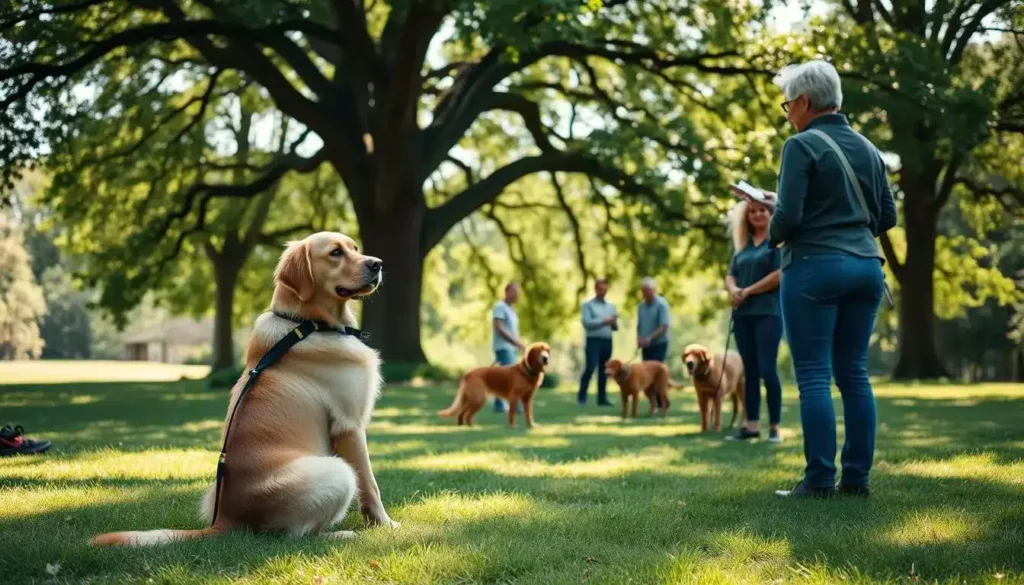
I practice in many places to make the behavior general. The RSPCA and AKC suggest practicing at home, in the yard, parks, and friends’ houses. This variety makes the stay command reliable in real settings.
| Drill | Initial Difficulty | Progression | Reward Strategy |
|---|---|---|---|
| Single clap | Very easy — one clap nearby | Two claps, then claps from different directions | High-value treat after successful hold |
| Toy drop | Drop toy 3–5 feet away | Drop closer, then toss gently without release | Small frequent rewards for short holds |
| Person walking by | Person walks at a distance outside | Person walks by closer, then opens the door | Return to dog and reward before release |
| Doorbell/knock | Ring once from another room | Deliver multiple rings, have someone enter | Drop expectations, reward calm and restart |
Troubleshooting common problems with stay training
Many owners face challenges when their dogs struggle with staying. To fix this, identify the problem, take a step back, and aim for small victories. These adjustments help avoid frustration and keep training on track.
What to do if your dog breaks the stay: avoid punishment
When a dog breaks the stay, punishment is not the answer. It usually means the task was too hard or I accidentally distracted them. I start again at a level they can easily handle.
This might mean shorter stays, less distance, or fewer distractions. I focus on building confidence and teaching the dog to stay without fear. Positive feedback and rewards keep them motivated.
How to read body language that signals an imminent break
Understanding body language is crucial to prevent failures. Look for signs like shifting weight, a focused gaze away, or raised hackles. These often indicate the dog is about to move.
I reward them before these signs get worse. This approach aligns with the RSPCA's advice to help the dog succeed. Recognizing these subtle signals allows me to reinforce the stay command at the perfect time.
When to step back and simplify the exercise for success
If the dog keeps failing, I simplify the task right away. I shorten the stay, move closer, and remove distractions. This approach helps build trust and skill faster than pushing too hard.
My own body language is important. I remain calm and avoid sudden movements that might distract the dog. If training stalls due to anxiety or reactivity, I seek professional help from a certified trainer or a veterinarian.
Adapting stay training for puppies, seniors, and anxious dogs
I adjust stay training to fit each dog's unique needs. Some dogs learn quickly, while others need a slower pace. I focus on making them comfortable, keeping sessions short, and breaking down steps for vulnerable pets.
Puppy considerations: Puppies do best with very short holds and lots of breaks. I keep training sessions short and aim for small victories. Using high-value treats and fun praise helps build confidence.
Following AKC advice, I increase hold times slowly. This helps puppies link stay with positive rewards. For puppies, play between training sessions and stop before they lose focus.
Seniors and mobility limits: Older dogs may need easier goals and position changes. I choose sit stays if lying down hurts. I use padded beds or orthopedic cushions to support their joints.
During training, I avoid pushing for long distances or holds. I watch for signs of discomfort and adjust the plan if needed.
Anxious dogs and separation anxiety: I mix stay training with gradual alone time for anxious dogs. I start by having the dog relax on a bed while I'm nearby. Then, I step away for short periods, rewarding calm behavior.
For separation anxiety, I focus on quiet settling rather than strict holds. If a dog shows distress, I slow down or seek professional help.
I use comfort tools for all dogs: cozy crates, favorite chew toys, and familiar bedding. These items make training feel safe. When teaching stay, I combine physical comfort with short, predictable steps for steady learning.
My training is humane and patient. I never stress a dog. If a dog needs extra help, I suggest talking to a vet, a Certified Professional Dog Trainer, or an animal behaviorist for safe and effective progress.
Reinforcing stay command long-term and generalizing across contexts
I want your dog to stay reliably in any place. To do this, practice short, frequent sessions. Mix up where you train to help your dog learn to stay in different places.
Begin each session with a clear goal. Start with short stays, then add distance or distractions on different days. This builds confidence in each skill before combining them.
I change rewards to keep my dog interested. I move from treats every time to occasional rewards. This variety helps strengthen the stay command and prevents expecting treats every time.
When adding duration, distance, and distractions, I keep one variable low while increasing another. For example, I start with a two-second stay across the room with a slight distraction. Once that's mastered, I increase the time or distraction. This method makes staying reliable in real-life situations more likely.
For long-term maintenance, I do brief refreshers and random checks. I ask for a stay before doing routine things like clipping a leash or opening a door. This keeps the training fresh without making the release cue too casual.
Before letting a dog off-leash or in a riskier setting, I ensure they stay reliably in quieter places. Gradually increasing the difficulty builds trust and lets them generalize their stay behavior to parks and public spaces with less stress.
| Practice Focus | Example Drill | Why it Works |
|---|---|---|
| Location variety | Short stays at home, then yard, then a friend's porch | Exposes dog to different cues so they generalize stay behavior |
| Reward variation | Treats, toys, praise on a mixed schedule | Maintains motivation with intermittent reinforcement |
| Combine the three Ds | Two seconds + one step back + soft distraction | Builds real-world reliability without overwhelming the dog |
| Maintenance checks | Ask for a stay before leash, door, or meal prep | Keeps the obedience training stay command active in daily life |
Conclusion
I've shown you a simple way to teach your dog to stay. First, teach a consistent release cue. Then, start with short stays and add distance later. Finally, introduce distractions.
Use positive reinforcement and reward the stay itself. This helps your dog understand what you want. It also helps them make progress steadily.
A reliable stay command is very useful. It keeps your dog safe near roads and makes vet visits easier. It also helps you manage your home better.
Follow methods from the RSPCA, American Kennel Club, and vets for humane training. This keeps your dog's training effective and kind.
Keep training sessions short, about 10 minutes a day. Use the same verbal and hand cues every time. Be patient, especially with puppies, seniors, and anxious dogs.
If your dog's behavior or anxiety slows you down, get professional help. These tips will help you and your dog become more calm and reliable.
Start small, stay consistent, and enjoy watching your dog learn. With regular practice and the right approach, you'll see great results.