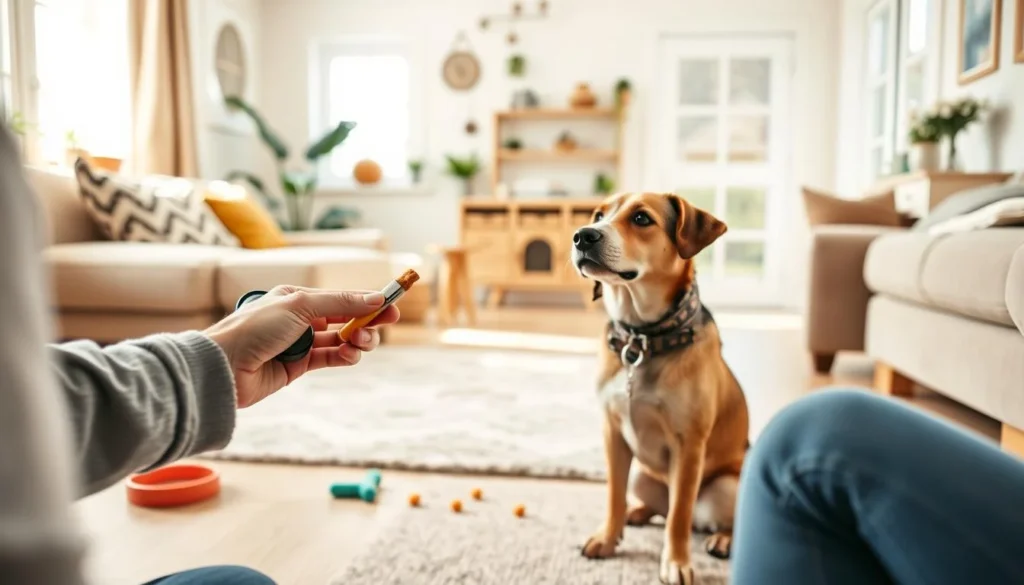
I remember the first time I clicked for my Labrador in the backyard. His tail went from puzzled to proud instantly. It made training clear and like a conversation.
This moment changed how I teach and how my dogs listen. It showed me the power of a clicker in dog training.
In this article, I'll show you how to use a clicker for dog training. We'll mix simple science with practical steps. You'll learn how a short, consistent marker can help dogs learn fast.
It's amazing how the click bridges the gap between action and reward. You'll see how it works for behaviors like sit and spin.
I'll also share practical tips for troubleshooting. And a note on accessibility: if videos or resources don't load, try enabling JavaScript or switching browsers. This way, you can follow along smoothly.
Key Takeaways
- Clicker training is a clear mark-and-reward method that speeds learning.
- I’ll teach you how to properly use a dog training clicker step by step.
- Proper timing makes the click an effective bridge between behavior and treat.
- Simple troubleshooting helps when a dog ignores the marker.
- Ensure multimedia resources work by checking browser settings and extensions.
how to properly use a clicker for dog training
I use the clicker as a precise marker for dog training. It tells a dog the exact moment they did something right. This makes teaching clearer than guessing if a treat or praise was for the right action.
Learning how to use a clicker helped me focus my terrier Pixie and my friend Rachel’s Australian Shepherd, Bondi.
What the phrase means for my training approach
For me, it means focusing on marking and rewarding. I click the instant the desired action happens. This click is a clear signal that the dog did something right.
Using a consistent marker helps avoid confusion. It keeps my coaching positive and free from punishment.
Why I chose clicker training for my dogs
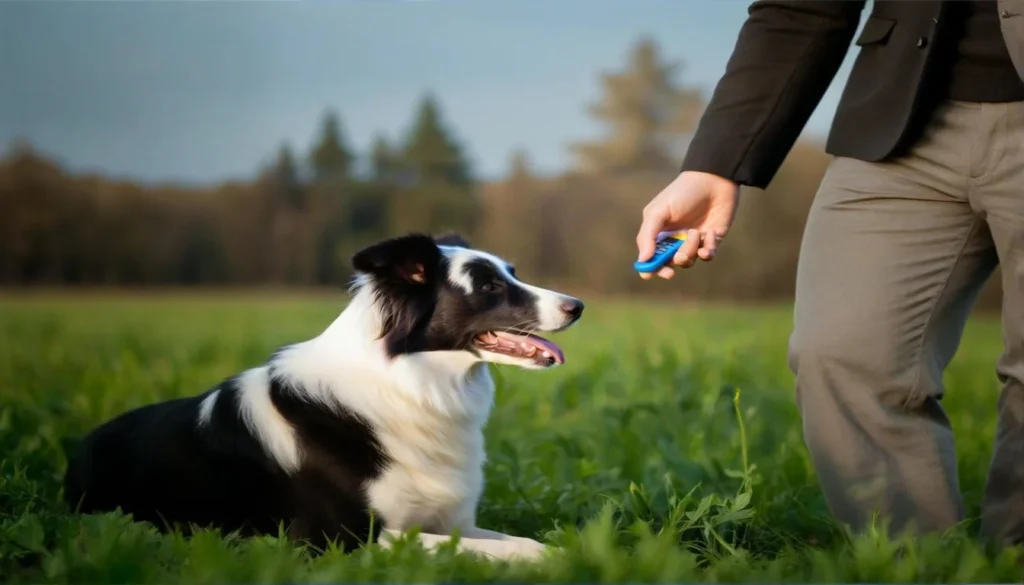
I chose clicker training after seeing Bondi focus in a park session and Pixie learn a new cue quickly. It made learning obvious and fast. It was more motivating than just giving treats, as the click marked progress.
How this article will teach you practical, step-by-step methods
This article will guide you through every step: charging the clicker, choosing tools and rewards, and timing the mark. It covers beginner lesson plans, shaping advanced behaviors, and handling distractions. Each section offers first-person tips from my home and public parks.
I explain the mark-and-reward principle and how a conditioned reinforcer works. Loading a clicker takes 10–20 repetitions. Simple skills show progress in 15–20 minutes with clear steps and quick rewards.
What is clicker training and why it works for dogs
Let's start with the basics. Clicker training uses a special sound to reward dogs for good behavior. It's all about positive reinforcement and a clear signal.
Definition and mark-and-reward principles
It's a simple method. The clicker marks the exact moment a dog does something right. Then, I give them a treat or toy. This teaches them to connect their actions with rewards.
How positive reinforcement shapes repeated behaviors
Positive reinforcement makes dogs want to do things again. When I reward them for sitting or coming back, they learn to do it more. It's all about making good actions a habit.
Scientific basis: conditioned reinforcers and clear communication
Studies show the clicker becomes a powerful tool after it's linked with rewards. It helps me mark actions from far away or when treats are delayed. This makes communication clear and effective.
Using the clicker helps in many ways. It's great for teaching dogs to stay calm, jump on command, or even stop in their tracks. It makes training fun and helps us understand each other better.
How to charge a clicker and create the click-reward association
I start training by making the click mean one thing: a reward is coming. This short loading phase sets the stage for every lesson. It shows you how to properly use a dog training clicker in a clear, reliable way.
Step-by-step loading: click then treat repetitions
I hold a small, inexpensive mechanical clicker and a handful of high-value treats. I click once, then deliver a treat immediately to the dog’s mouth. I repeat this sequence about 10–20 times in quick sessions.
Each round is short so the dog stays engaged. I avoid distractions and keep sessions to one or two minutes. This pattern shows how to use dog training clicker tools without confusing the dog.
You don’t need fancy gear; most clickers on Amazon cost around $5 and work fine.
Signs my dog understands the click means a reward
After a few successful rounds the dog starts to react. My dog perks ears, looks at me, or moves toward my hand after the click. This anticipatory behavior tells me the click = reward link has formed.
I watch for quick, consistent responses before moving on to marking behaviors.
Troubleshooting if my dog ignores the click
If my dog seems indifferent I check a few things. First, are the treats truly high-value and easy to eat fast? If not, I swap to chicken or cheese. Next, I reduce distractions and repeat the click-then-treat pattern more times.
Some dogs startle at loud clicks. I try a quieter clicker or switch to a short marker word like “Yes.” For hearing-impaired dogs I use a visual flash or a gentle tap as a tactile marker.
If food fails, I use play or a tug as the reward. This teaches me how to use clickers for dog training beyond treats.
Throughout loading I stay consistent: every click must be followed by a reward. This predictability trains the dog to trust the marker. Once the dog reliably anticipates the treat, I begin marking actual behaviors with the same click-and-reward pattern.
Choosing the right clicker and rewards for successful dog training
I keep rewards simple and practical to keep training sessions short and clear. Choosing the right clicker and treats is key for progress. It's important for using the dog clicker in everyday training.
I look for a clicker with a comfortable grip and a consistent sound. Most dogs do well with standard plastic clickers. But for dogs that jump at loud noises, I use a low-volume model or a verbal marker. This helps teach beginners how to use the dog training clicker without startling their pet.
I carry treats in a small pouch for instant rewards after the click. Small, soft, single-ingredient treats like tiny beef or chicken bits are best. They're quick to chew and keep the training momentum going.
Portion control is important. During intense training, treats should be about ten percent of daily calories. This keeps the dog motivated without overfeeding. It supports sustainable progress and shows how to use the clicker responsibly.
Types of clickers and alternative markers I use
I use different markers based on the dog and the environment. Wrist-strap clickers are great for quick access. Silent or soft clickers are better for noise-sensitive dogs. When sound is not suitable, I use a clear verbal marker like “Yes.” For hearing-impaired dogs, I rely on touch or a light cue.
Selecting high-value, quick-to-eat treats for sessions
I pick treats that are high value and fast to eat. Single-ingredient liver or beef lung bites are good choices. Cut larger treats into pea-sized pieces. Rotate flavors to keep the dog excited. Use a mix of textures to avoid boredom.
Using play, toys, or praise as alternate reinforcers
Some dogs prefer play over food. I use a tug toy or a short game of fetch right after the click when it motivates better than treats. Praise can also work, but the click must be distinct from everyday petting. When combining rewards, I keep clear timing to keep the marker meaningful.
I carry variety: a trusted clicker, a pouch of soft treats, and a favorite toy. This setup makes adapting easy and shows learners how to use the dog training clicker in real situations without losing momentum.
Timing the click: how to use a clicker in dog training effectively
I want to make timing easy for you to learn how to use a clicker in dog training. A well-timed click captures the exact moment you want your dog to repeat. If you click too soon or too late, your dog might learn the wrong thing. I teach clear markers to help your dog learn faster and avoid confusion.
Why precise timing matters for clear marking
The click is a precise marker that tells your dog exactly what behavior you want. When I click at the right time, your dog learns to link that action with a reward. This makes learning more reliable, especially in short training sessions.
Getting the timing right stops accidental rewards for the wrong actions. If your dog doesn't get it, I slow down and simplify the task. This helps your dog understand the connection between their actions and rewards.
Examples of correct click timing for sit, down, and recall
Sit: I click the moment the dog's butt touches the ground. This sound tells them exactly which movement earned the treat.
Down: I click when the dog's belly or chest touches the floor. The click must happen at that exact moment, not before.
Recall: I click when the dog's nose crosses the threshold to me or when they reach me and make eye contact. Following the click with a reward helps them learn to come when called. Practicing these examples improves your skill in using clickers for dog training in different situations.
How clicking bridges distance or delayed rewards
When I can't reward right away—like at a distance or during agility—clicking bridges the gap. The click marks the moment the action happens. Then, I give the treat as soon as I can. This keeps the meaning clear, even with a short delay.
To get better at timing, I practice during drills. I say the command before the action, not after. This keeps the click as a marker, not a cue. With practice, timing becomes automatic, leading to reliable results.
How to do clicker training with a dog: beginner lesson plans
I make beginner lessons short and focused to keep my dog interested. Each session lasts 5–10 minutes, spread out through the day. This method helps me teach my dog without overwhelming them.
Every session starts with a warm-up. I run simple commands like sit or look. This boosts my dog's confidence and reminds them that a click means a reward.
Then, I move on to the training phase. I teach one new behavior, using many repetitions. I click the exact moment my dog does what I want. This shows how to use a dog training clicker clearly.
Finally, I wrap up the session. I give a favorite treat and end with a reliable command. This positive finish reinforces learning and keeps my dog motivated.
Short session structure I follow (warm-up, training, wrap-up)
I start with familiar cues for the warm-up. During training, I focus on the new behavior. I end with praise or play. This predictable structure helps my dog understand the click's meaning.
Starting with easy behaviors and gradually increasing difficulty
I begin with actions my dog already does, then add the command and click. As they get better, I make the task harder by adding distance or distractions. This gradual approach helps my dog learn steadily.
Using luring, shaping, and capturing during lessons
For actions like a spin, I lure my dog with a treat. I move it around their head until they complete a full turn, then click.
For complex moves, I reward small steps toward the final action. I click closer to the desired behavior until my dog does it reliably.
For spontaneous actions, like lying on a mat, I capture them by clicking the instant they happen. This encourages natural behaviors.
I start with continuous reinforcement, clicking and treating every time. Once the behavior is stable, I switch to an intermittent schedule. This keeps my dog responsive without expecting a treat every time.
These beginner lesson plans provide clear steps for clicker training. By focusing on timing, short sessions, and gradual difficulty, I see my dog learn confidently and steadily.
Using the clicker for advanced behaviors and tricks
I break complex moves into tiny steps to shape beyond basics. I plan each stage and click quickly as the dog improves. Keeping sessions short helps maintain focus.
Shaping complex actions
I start with a clear goal and list the steps needed. I click the first small step, reward, then wait for a closer version. This method shapes actions like a full spin or precise hand target.
Capturing spontaneous behavior
I always carry my clicker during walks and home routines. When my dog settles on a mat or ignores the doorbell, I click and reward. This helps generalize behavior outside formal sessions.
Practical examples
- Loose-leash walking: I click brief moments of slack and attention, then slowly increase distance and time before rewarding.
- Spin: I lure a circle, click at the full rotation, add a verbal cue, then fade the lure while keeping the click for precision.
- Wave: I click tiny paw lifts, reward each improvement, and capture spontaneous reaches until the motion becomes reliable.
- Distance work: I mark the exact moment my dog completes a remote task, then deliver the treat when I can, which trains accuracy at range.
I use high-value treats, play, and varied rewards to keep training fun. Short, frequent sessions and consistent timing speed progress. This method shows how to use clicker dog training for tricks and in daily life.
Common mistakes and how to avoid them in clicker dog training
I keep training sessions short and focused. This helps me spot errors before they become habits. I use simple drills to polish skills and keep my dog motivated.
Clicking at the wrong moment or not following through with a reward
The click is a promise. If I click too early, late, or don't give a treat immediately, the dog gets confused. To avoid this, I practice timing drills without my dog, clicking exactly when a hand touches a target, then rewarding instantly.
I prepare small, high-value treats so I can deliver them in under a second. This keeps the mark-and-reward link sharp while I teach how to use clicker when training a dog.
Using the clicker as a cue instead of a marker
Some trainers accidentally turn the click into a command. I never use the click to tell the dog to do something. I give the verbal cue or gesture first, wait for the correct response, click to mark the precise moment, then reward.
When I focus on this sequence, I avoid confusing cause and effect. Practicing this order is key to learning how to use dog training clicker effectively.
Over-reliance on treats and how I maintain a healthy treat balance
Treats are crucial during shaping, but feeding too many can lead to weight gain. I weigh my dog’s daily food and keep treats to small bits. My rule: treats should be about ten percent or less of daily calories during intense training.
I mix in praise, brief play with a Kong, or a quick tug session as alternate rewards. This teaches my dog value beyond food and shows how to properly use a clicker for dog training without overfeeding.
Other mistakes I watch for and practical fixes
- Clicking for sloppy approximations: I set clear criteria and only click when the standard is met.
- Overusing the clicker once behavior is learned: I fade the clicker with intermittent reinforcement schedules.
- Poor session planning: I write short lesson goals, pack tiny treats, and track calorie intake.
I schedule short, frequent sessions and log progress. This keeps training efficient and helps me track when to switch to intermittent rewards, praise, or toys. These routines keep behaviors reliable and teach me how to use clicker when training a dog in a balanced, sustainable way.
How to use clickers for dog training in real-world environments
I start training at home, then move to quiet parks, and finally to busy streets. It's important to plan where each step will be practiced. I carry a small pouch of treats and a clicker with a wrist strap for easy access.
Adapting training to parks, homes, and busy streets
I adjust my expectations based on the location. At home, I expect full behavior repeats. At a calm park, I reward smaller steps. On busy streets, I mark tiny wins to keep my dog confident.
This gradual increase helps me teach my dog in different settings without overwhelming them.
Managing distractions and keeping sessions short and frequent
I keep training sessions short, lasting five to ten minutes. Training several times a day helps keep focus. When distractions rise, I reward sooner and for shorter behaviors.
As success grows, I slowly increase expectations. This method helps me use a clicker effectively while keeping progress.
Using the clicker to reinforce calm behavior around guests and triggers
I look for calm signals like four paws on the floor or relaxed breathing. I click the exact moment calm appears and reward with a treat or toy. When a doorbell rings or guests arrive, I reward calm postures before they escalate.
This approach teaches dogs to choose calmness in real life.
I'm always mindful of safety and manners in public. I keep dogs leashed near traffic, avoid crowding strangers, and use a quieter marker if needed. Simple wins, like slack-leash steps at the park, help generalize to other walks with consistency and patience.
How to wean your dog off the clicker and maintain behaviors
I teach dogs to work for clear, predictable rewards. At first, I use the clicker every time they do something right. Once they know the cue well, I start to fade it out.
This keeps them interested without needing treats all the time. It makes training useful for everyday life. It also helps keep their behaviors reliable.
Fading the clicker with intermittent reinforcement schedules
I start by changing the reward pattern. I click most of the time but reward only every other correct response. Then, I make the rewards come at random.
This makes the behavior stronger than constant rewards. When testing, I slowly lower the reward frequency. I watch for errors to avoid losing the behavior suddenly.
Transitioning to verbal praise, toys, or occasional treats
I replace some clicks with quick praise, scratches, or short play sessions. For important skills, I still use surprise treats. This keeps the dog motivated without too many treats.
Learning to use the clicker means planning these changes. It helps the dog still see a positive outcome from the cue.
Maintaining consistency so behaviors stay reliable over time
I ensure everyone uses the same cues and expectations. We practice in different places and with visitors. I also schedule refresher sessions with the clicker.
This steady approach makes the clicker a long-term tool, not just a crutch. It helps keep the training positive for both of us.
Practical tip: I keep a simple log of success rates and note when errors rise. If reliability drops, I increase reinforcement briefly and then fade again. Gradual change prevents sudden loss of behavior and keeps training positive for both me and my dog.
Conclusion
Clicker training is a clear, efficient way to teach dogs. It makes the exact moment of correct behavior obvious. I learned to use a clicker by charging it, practicing timing, and keeping sessions short.
Using a reliable plastic clicker and soft treats from Petco or Amazon helped my terrier and Bondi, an Australian Shepherd, learn faster.
My advice is to start with 10–20 click→treat pairings. Practice clicking the instant your dog sits or looks at you. Keep lessons short and frequent, and shape complex behaviors step by step.
Proof commands in real environments. Avoid clicking at the wrong moment and always reward quickly and with high value.
When you practice clicker training, plan to fade the clicker over time. Use intermittent reinforcement and add verbal praise or toys. Make sure tutorials and videos load correctly by enabling JavaScript or turning off ad blockers.
With consistent timing, rewards, and short sessions, you'll strengthen communication. You'll also build lasting behaviors and a stronger bond with your dog.