I remember the first time a dog wouldn't come back from the park. My heart was racing as cars approached. This moment made me learn how to use a shock collar for dog training. I wanted to keep dogs safe without losing their trust.
I believe in calm, clear communication. I look for the least intrusive methods first. Only then do I consider using an aversive tool.
In this article, I'll show you how to use a collar on a dog responsibly. I'll explain when an e-collar can help and how to train your dog with one step by step. Remote training collars are tools to support off-leash recall and reinforce commands like sit and stay.
They can also address dangerous behaviors like chasing cars or escaping. We'll discuss if an e-collar is right for your dog, how to choose a reliable device, and how to fit and acclimate your dog. You'll learn hands-on training exercises, safety, and ethics.
My advice comes from experienced remote trainers, Ecollar Technologies, and professional perspectives. This way, you can train with confidence and care.
Key Takeaways
- Use an e-collar as a communication tool, not punishment.
- Assess if a collar is appropriate before use, considering health and temperament.
- Choose quality gear and fit the collar so contact points touch skin without pinching.
- Introduce tone and vibration first, then find the lowest effective stimulation.
- Pair collar signals with clear verbal and body cues for consistent results.
Understanding what a shock collar (e-collar) is and how it works
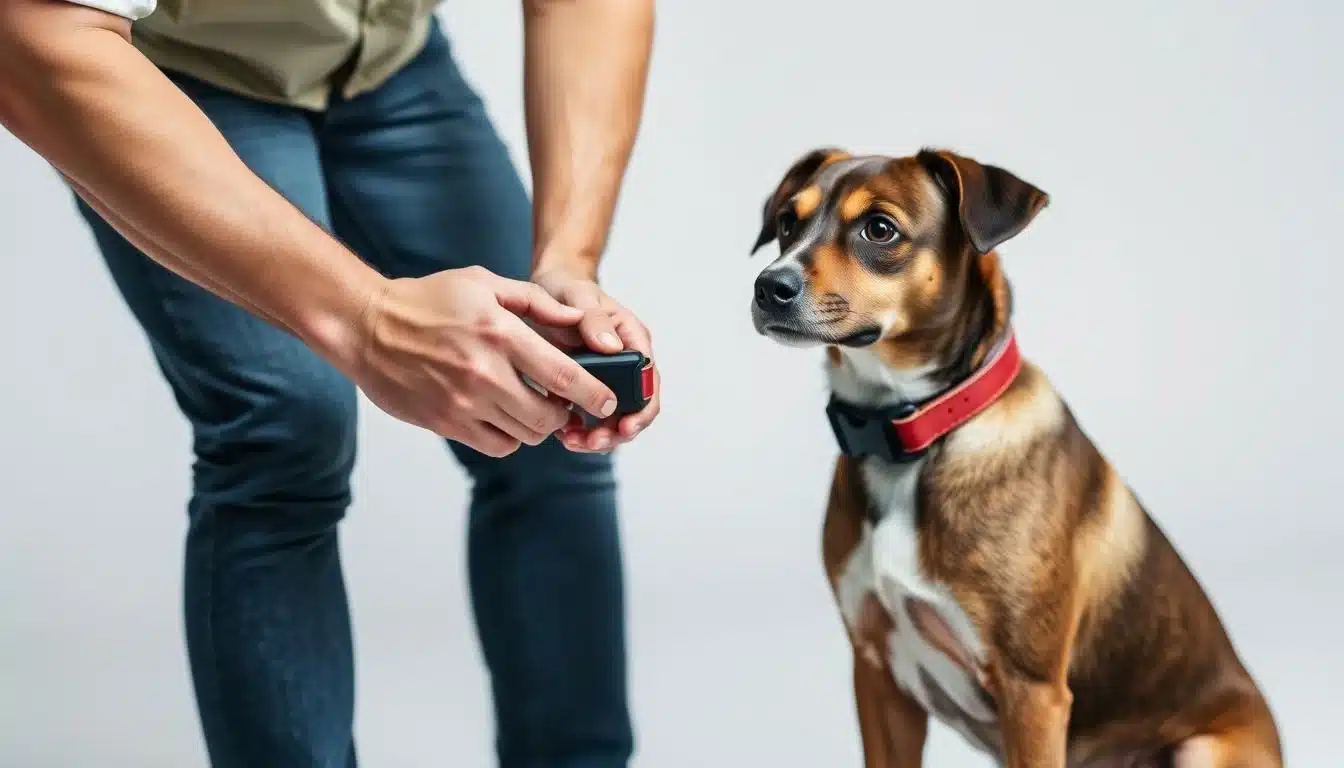
Before we dive into training, let's get the basics right. An e‑collar, also known as an electronic collar, is a two-part system. It has a handheld transmitter and a receiver on the dog's collar. You can adjust the stimulation levels to be precise and consistent with your dog.
Definitions and terminology
Explaining e‑collars to clients, I cover tone, vibration, and electronic stimulation. Tone is a beep, vibration is like a phone buzz, and stimulation is an adjustable electronic pulse. These options help match your dog's sensitivity and the behavior you want to change.
Different modes: tone, vibration, and stimulation
Tone is great for warnings or teaching new cues. Vibration is useful for deaf dogs or as a gentle signal. Stimulation is for interrupting unwanted behavior. Modern e‑collars start with low levels to avoid harshness.
Experts like those from the Association of Professional Dog Trainers often start with tone or vibration. They introduce stimulation only when the dog understands the signal.
How stimulation communicates with your dog
Think of stimulation as a remote touch that interrupts and redirects. It works like this: an undesired action gets a short stimulation; the dog stops; and the stimulation ends. This creates a clear cause-and-effect.
Using it correctly helps your dog learn fast with consistent signals and feedback. Safety is key. Choose the right level and use it consistently for humane training. My aim is to help you understand e‑collars and use them safely for effective dog training.
Assessing whether a shock collar is appropriate for your dog
I carefully consider tools before suggesting an e-collar. First, I focus on building a strong bond and teaching basic obedience. Experts like Victoria Stilwell and the American Veterinary Society of Animal Behavior recommend improving handler skills before using stimulation.

When I recommend alternative tools first
I don't usually suggest a shock collar first. Instead, I recommend leashes, longlines, and head halters. I also suggest management strategies and reward-based training. This helps owners learn to train their dogs effectively before using a collar.
Behavior problems that may justify using an e-collar
In some cases, an e-collar is a good choice. For example, if a dog doesn't come back when called and could get hurt. Dogs that chase cars or wildlife, or keep escaping, also need a reliable way to communicate.
I find that an e-collar is most useful for outdoor training. It helps in situations where a dog's safety is at risk.
Health, age, and temperament considerations
I avoid using shock collars on very young puppies. I'm also careful with older dogs and those with health issues. Dogs with fear-based aggression need a vet or certified behaviorist's approval before using a collar.
Some dogs handle remote cues well, while others get anxious. I only use an e-collar if a dog is obedient, trusts the handler, and is comfortable wearing it. If you're unsure, talk to a professional first.
Before using an e-collar, get advice from a balanced trainer. They can help you use it correctly and safely for your dog.
| Situation | First-line approach | When e-collar may be considered |
|---|---|---|
| Poor recall | Longline recall drills, rewards, obedience cues | Persistent off-leash escapes that risk safety |
| Chasing hazards | Management, supervised off-leash work, desensitization | Life-threatening chasing of cars or wildlife |
| Chronic nuisance behaviors | Environmental changes, enrichment, behavior modification | Entrenched digging, roaming, or severe barking after other methods fail |
| Puppy or fragile health | Delay training collar use, build foundation | Avoid stimulation until older or cleared by vet |
| Fearful or aggressive dogs | Veterinary behavior assessment, counterconditioning | Only under specialist guidance with cautious protocol |
Choosing a quality e-collar and safety features
I focus on gear that makes training safe and predictable. When picking an e collar, I look for brands known for their engineering and clear controls. ECollar Technologies and the Mini Educator are top choices for their precise stimulation and steady output.
Why build quality and consistency matter
Cheap collars can have uneven output, startling dogs or causing uneven responses. I choose collars with consistent levels and millisecond timing. This makes corrections fair and helps teach dogs clearly.
Predictable stimulation reduces stress. Dogs learn faster when they trust the device. The Mini Educator is a reliable choice for its precise levels.
Waterproofing, battery, and charging best practices
Waterproofing is key for outdoor training. A sealed receiver prevents shorts and keeps safety seals intact. I always check waterproof plugs and seals to maintain resistance.
Follow charging guidelines for lithium batteries. I stop charging when the indicator turns green and avoid overnight charging. Charging batteries before they die and treating low-battery lights as a charge prompt helps battery life.
Size, adjustable straps, and contact point design
I choose a receiver that fits the dog's neck and adjustable straps that fit like a belt. Contact points must touch skin without digging in. For long hair or sensitive skin, I use flat or longer contact points.
Trim strap excess as recommended. I cut about 3–4 inches for adult dogs and 6 inches for growing dogs. Proper fit ensures clear communication during training.
- Night light for visibility on evening walks
- Range specs that match your needs—70 m for yard work, 1000 m+ for field work
- Vibration and tone modes for layered communication
- Multi‑dog compatibility if you train several dogs
I prioritize safety and usability over the lowest price. Thoughtful choices in hardware and features give me confidence while teaching. They keep the dog comfortable and responsive when using an e collar for regular work.
How to put a training collar on a dog
I guide you through a simple, step-by-step guide to put a remote training collar on your dog. This way, your dog stays comfortable and the collar works well. We focus on the right fit, quick checks during movement, and trimming straps safely.
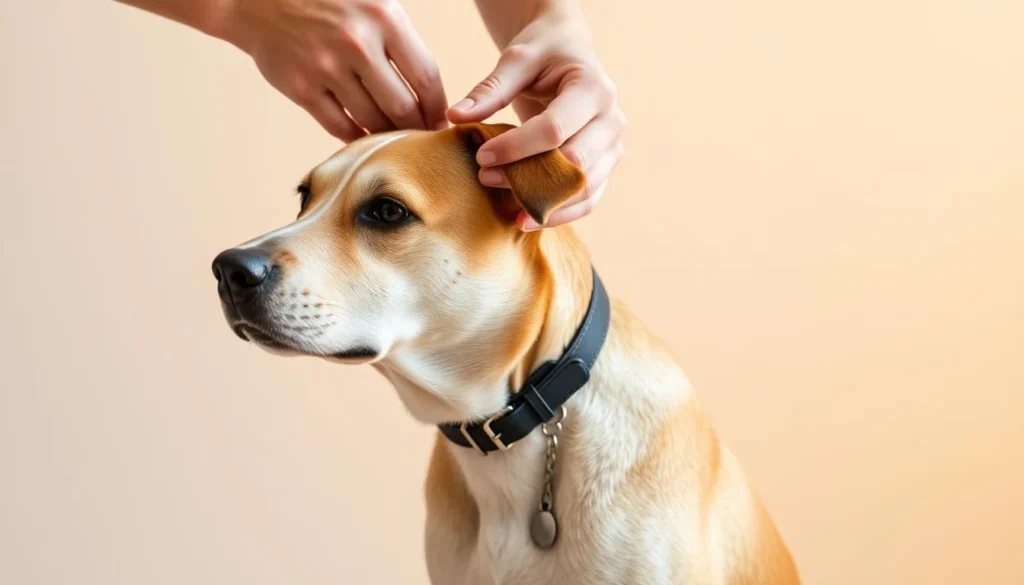
Proper fit and contact point placement
Put the receiver collar high on the neck, just below the jaw. The metal contact points should touch the skin without hurting the fur. You should be able to fit one finger between the collar and the dog's neck.
If the probes don't reach due to thick fur, try longer probes or adjust the collar. Always fit the collar when the dog is standing to ensure it sits right.
Checking fit while the dog is standing and comfortable
Let the dog move for a few minutes after fitting, then check the collar again. Look for signs of slipping, rotation, or the receiver moving up. A short walk can show if the fit is off.
Use a non-metallic collar above the receiver to avoid pressure on the contact points. Check daily and after play to catch any changes early.
Trimming straps and leaving room for growth
Trim the strap to prevent snagging, leaving 3–4 inches for adult dogs and 6 inches for puppies. Bevel the strap tip for easier threading and hide loose ends under a keeper or elastic loop.
Make sure there's room for coat changes and using the collar on other dogs. Rotate the contact points slightly each day and check the skin daily for signs of irritation or sores.
How to properly use a shock collar for dog training
I teach owners simple, respectful steps for training their dog. Before using the shock collar, I introduce tone and vibration in a quiet room. We have short sessions of 10–15 minutes over two to three days, using treats and praise.
Introduce tone and vibration before stimulation
I use tone as a marker and vibration as a tactile welcome. I press the tone, reward the dog when they look toward me, and repeat until they associate the cue with a reward. Then, I add vibration, following the same method, until they show calm recognition.
Finding recognition level
With the collar fitted and charged, I start at the lowest notch. I look for subtle signs like an ear flick or a quick glance. I raise the dial slowly until I see a clear but gentle recognition. I record that setting for the session because finding recognition level can change by context.
Use the lightest level effective and immediately return to base
I always use the minimal level that works and reset the dial to zero after each use. If a moment of high distraction demands a brief increase, I drop back to base as soon as the dog responds. If the dog yelps, I breathe, call them, lower the level, offer a calm pet, and move on without heavy fuss.
Pair stimulation with clear verbal and body cues
I never surprise a dog with stimulation alone. I give a short verbal command and steady body language at the same time I press the button. I hold the stimulation only while asking for the behavior and stop it the instant the dog complies. Early on, I use a longline for guidance so the dog connects the cue, the touch, and the action.
When owners ask how to train their dog with an e-collar, I tell them to treat it as a communication tool. I press only during the behavior I want to change or the trained response I want to elicit. I avoid after-the-fact corrections and focus on clear timing, calm voice, and consistent signals.
I keep sessions short and positive, track the dog’s recognition level each day, and use tone and vibration first. This approach makes using a shock collar for dog training practical, humane, and effective.
How to train a dog with a remote training collar: step-by-step exercises
I guide readers through simple drills that link clear commands with the collar. My aim is to share safe, easy-to-follow routines for common issues. I focus on short exercises, positive rewards, and careful collar settings to keep training upbeat.
Teaching recall using a longline and collar communication
I start recall training with a longline. I ensure the remote and receiver are charged and the dog knows the commands. I say “COME,” press the stim at the right level, and guide gently with the longline.
I stop stimulation as soon as the dog moves towards me. Then, I reward with praise and treats. I keep the exercises short and end them while the dog is still successful. As we add distance and distractions, the pattern remains the same for clear recall training with an e collar.
Teaching sit, stay, and heel with simultaneous cues
For sit, I use a leash and a flat collar above the receiver. I guide the dog, say “SIT,” and press the stim as they sit. I reward immediately after they sit.
For stay, I place the dog, step back, and use stimulation if they leave. I say “STAY,” hold the stim if needed, then reward when they return.
For heel, I shorten the leash and keep the dog close. If they pull, I press a step above recognition and say “HEEL,” guiding them back. I release stimulation and praise when they stay by my side.
Using the collar to correct jumping, digging, chasing, and excessive barking
For jumping, I require a sit before attention. If they jump, I use stimulation, say “SIT,” and reward when they comply. This teaches the desired behavior.
For digging, I set up a controlled area. When they dig, I press above recognition and stay silent until they stop. I reward calm behavior to avoid bad associations.
For chasing, I create controlled scenarios. If they chase, I press above recognition and say “COME.” I hold stimulation until they return, then reward them. This reduces risky chasing.
For barking, I use recognition +1 level. I press during barking, say “QUIET,” and praise for silence. Consistency helps the dog understand the cue and desired calm.
Managing sessions is key. I keep them short, stop after a few correct reps, and avoid overtraining. I never use the stim when the dog is confused or already compliant. Short, positive practice leads to steady progress in training with a collar.
How to train a puppy to wear a collar and acclimate to the e-collar
I start with short, calm sessions to help the puppy get used to the collar. I let them wear the receiver, turned off, for a few hours a day. This helps them not associate it with anything bad.
I show the collar, let them sniff it, then put it on loosely while giving treats. Gradually increasing wear time helps them get used to it. This way, they stop noticing the collar.
I use positive association: treats, praise, play, and short training moments. When I introduce tone and vibration, I pair it with a treat. This teaches them to expect something good. Start these steps in a quiet room for their focus and happiness.
Fit is key when learning how to put a training collar on a dog. The contact points should touch skin but not dig in. I check fit with the puppy standing and relaxed, then trim any excess strap.
I inspect the skin every day for red spots or rubbing. If I see irritation, I stop use and consult a veterinarian. I also rotate the collar a few millimeters each day to avoid constant pressure.
Age and intensity are linked. I avoid strong stimulation on very young pups. I wait until they know basic commands and have impulse control before using active correction. Slow steps help build trust and teach safety.
Short, consistent practice keeps progress steady. I recommend brief daily sessions, low distraction settings, and frequent rewards. This approach supports puppy e collar acclimation and builds a calm, confident dog.
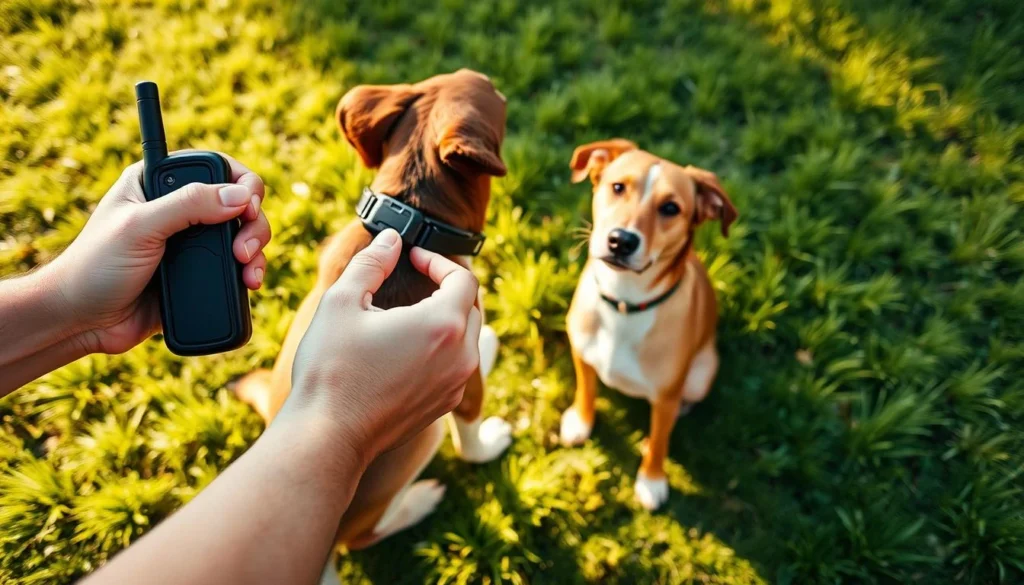
Practical handling tips and device management
I keep routines simple to stay calm and consistent. A quick pre-session check prevents surprises. I test power, pairing, and basic functions in my hand before using the collar on my dog.
Turning devices on, pairing, and quick tests
I learn the exact power method for each device. For example, the Mini Educator remote turns on with a long press on the large circular button. Pairing means aligning red marks and swiping until a light flashes green.
I test vibration and stimulation against my palm or a folded cloth. This way, I confirm responsiveness without accidental signals.
Carrying the remote and muscle memory drills
I use a lanyard or clip the remote to a belt loop. This keeps the controller within reach and reduces fumbling. I practice quick-access drills at home.
I move my hand to the remote without pressing buttons, then practice pressing the vibration and stimulation buttons separately. I repeat dial twists to learn how much a single click changes intensity.
Battery care and charging habits
I charge both collar and remote before every session and when low-battery indicators flash amber. I avoid leaving lithium batteries on charge after the indicator turns green. Turning devices off when not in use extends runtime.
After charging, I reseal the collar’s waterproof plugs to keep water resistance intact.
Level testing, base setting, and recovery steps
I always find recognition at the lowest effective level, typically starting around levels 3–8 on many brands. I test levels on my palm to learn human thresholds and adjust gently for the dog. When I finish a correction, I return dials to the base level immediately.
If I ever over-stimulate, I stay calm, call the dog, reduce the level, give gentle petting, and resume the session with a lower setting.
These remote handling tips, clear wearing routines, and strict battery care e collar habits keep training safe and predictable. Learning how to bear use dog training collar correctly takes practice, patience, and consistent device management.
Ethics, risks, and working with a professional trainer
I see an e-collar as a tool for teaching, like a leash. My aim is to teach clearly, using voice and body cues with the collar. This way, the collar can be used less over time. It's all about the dog's well-being and reliability.
Before using the collar, I teach simple steps. I introduce tone and vibration, reward good behavior, and use the lowest setting. This method reduces stress and makes learning easier for the dog.
I avoid using the collar in stressful situations or when the dog lacks basic obedience. Misuse can lead to fear or defensive behavior. Cheap, uneven devices are not humane.
Here are some ways I prevent harm:
- Start with the lowest setting and check if the dog understands.
- Always pair any stimulation with a clear command.
- Stimulation must be immediate, not after the fact.
- Stop if the dog shows signs of stress.
I suggest getting professional help early. A good trainer helps both handler and dog learn. They guide through the process safely and step by step.
When to get a trainer depends on your experience and the problem. If you're new to training, face challenges, or want feedback, it's time to seek help. Working with a certified trainer adds expertise and accountability.
| Concern | What I check | Recommended action |
|---|---|---|
| Handler inexperience | Poor timing, inconsistent cues | Enroll in one-on-one coaching or structured classes |
| High arousal or reactivity | Defensive responses, lunging near other dogs | Work with a behavior-focused trainer before using stimulation |
| Equipment concerns | Inconsistent stimulation, battery issues | Choose reputable brands, test intensity, replace faulty units |
| Welfare monitoring | Skin irritation, avoidance behaviors | Pause use, adjust fit, consult a vet and trainer |
My approach is based on evidence and compassion. Using an e-collar should build trust and safety, not be a quick fix. If you're unsure about using an e-collar, seek professional advice. Always prioritize your dog's well-being.
Conclusion
I've shown how to use a shock collar for dog training the right way. First, focus on basic obedience and rewards. Then, decide if an e-collar is right for your dog and pick a quality one with safety features.
Make sure the collar fits right, touching the skin lightly. Give your dog time to get used to it before starting training.
When training starts, use tone and vibration first. Find the lowest level that works for your dog. Use the shock only briefly, with clear signals, and then go back to calm.
Keep training sessions short and positive. Use corrections with rewards to teach without fear. This way, your dog learns well and stays happy.
I believe in using e collars as a tool for communication, not punishment. If you want to use a remote training collar, get help from a pro. Practice at home and watch for signs of stress or skin problems.
If your dog acts strangely, stop training and ask for help. Follow these steps for safe, effective, and kind training. Your dog will learn better and live a happier life.