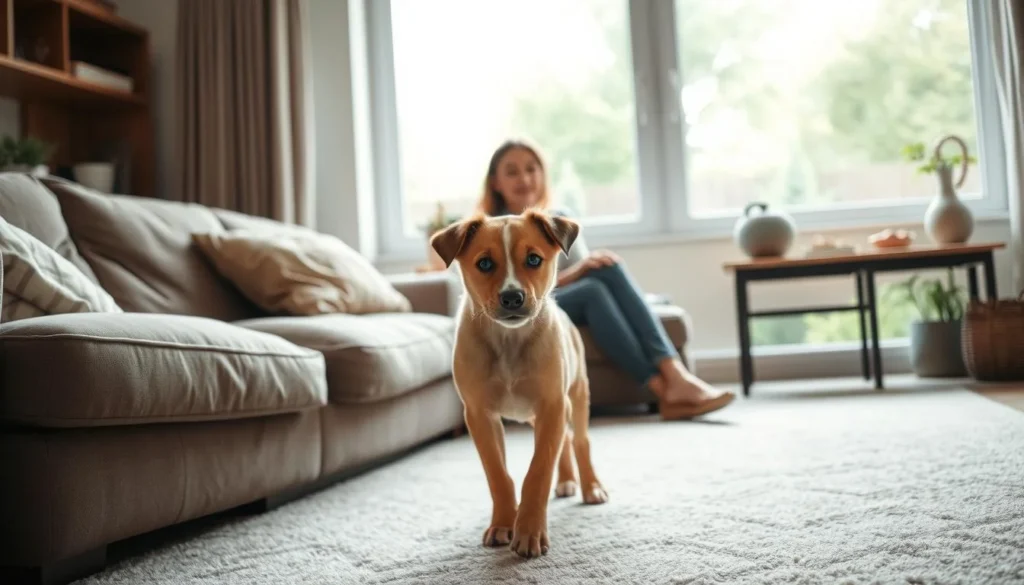
I still remember the first time my Labrador Clover jumped over a low broomstick in the backyard. It was pure joy, a burst of muscle and focus. It showed me the trust she had in me.
Teaching her to jump safely changed our playtime and exercise. It also helped me understand her body language better.
Jumping is a natural and fun behavior for dogs. But, it's important to start from their perspective. Before teaching them to jump, I check their age and fitness. I also make sure the heights are low and the landing zones are safe.
I focus on simple jump training basics: patience, practice, and perspective. This approach helps a lot.
Key Takeaways
- Jumping can be taught safely by starting low and progressing gradually.
- Confirm your dog is physically ready—usually at least 12 months old and injury-free.
- Use short, fun sessions with high-value rewards and foundational targeting.
- Practice on non-slip surfaces and limit high-impact repetitions to prevent injury.
- A simple lure-and-reward method helps teach a clear verbal cue like “jump.”
Preparing your dog and setting safety guidelines
I start every jump program with a health and age check. Puppies grow fast and their joints are fragile. I wait until a dog is at least 12 months old before introducing higher jumps. Owners should discuss any concerns with their vet.
Next, I choose safe surfaces and calm environments. Soft grass, carpet, or rubber mats are good for traction and cushioning. I avoid concrete, tile, and slippery hardwood during practice.
I keep sessions short and gentle. Start with knee or hock level and only raise height once jumps are comfortable. I limit repetitions per session to prevent repetitive high-impact loading.
For multi-jump work, I use clear take-off and landing zones. A spacing of roughly 4–5 meters (about 5 yards) between obstacles gives dogs room to build rhythm without overreaching. When I plan vertical or higher-impact moves, I recommend a vet check for puppies, seniors, or dogs with past injuries.
I use tiny, high-value treats and short praise to reward correct form. Lure-and-reward methods work well if applied slowly and with care. This approach shows owners how to train dog to jump safely while protecting muscles and joints through gradual progress.
Check age, health, and physical readiness
I confirm age, fitness, and absence of pain before training. For large breeds like Labrador Retriever or German Shepherd, growth plates close later. I measure progress and pause if any stiffness appears.
Choose safe training surfaces and environments
I select surfaces that reduce slipping and offer shock absorption. I avoid wet, icy, or uneven ground. Low distractions and a fenced yard help dogs focus and learn faster.
Start low and avoid high-impact repetition
I begin at low heights and raise them only when performance is consistent. I limit repetitions and alternate low-impact activities like walking or scent work to balance sessions. This steady plan follows proven safety guidelines for dog jumping and teaches owners how to train dog to jump safely.
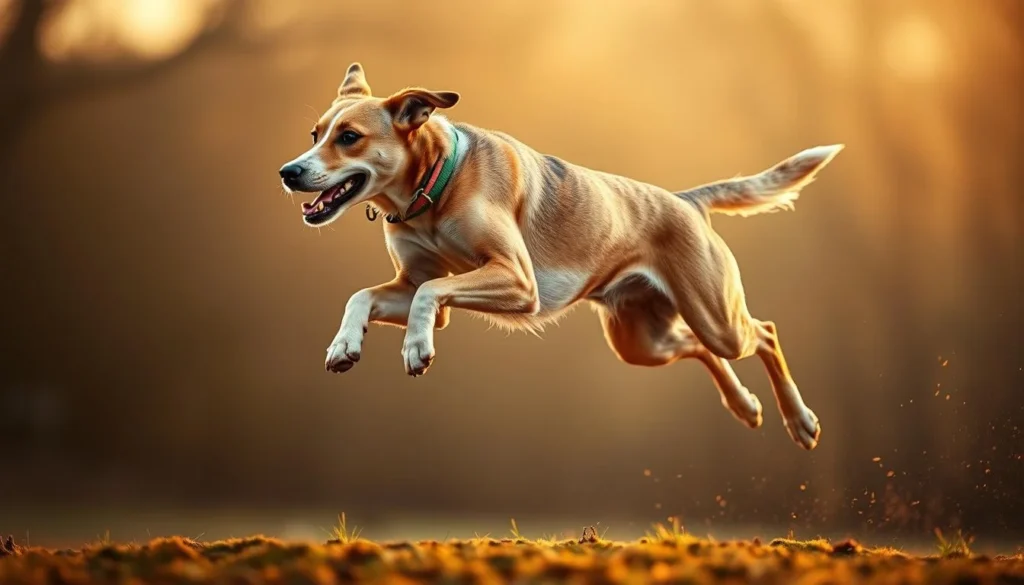
Understanding why dogs jump and natural instincts
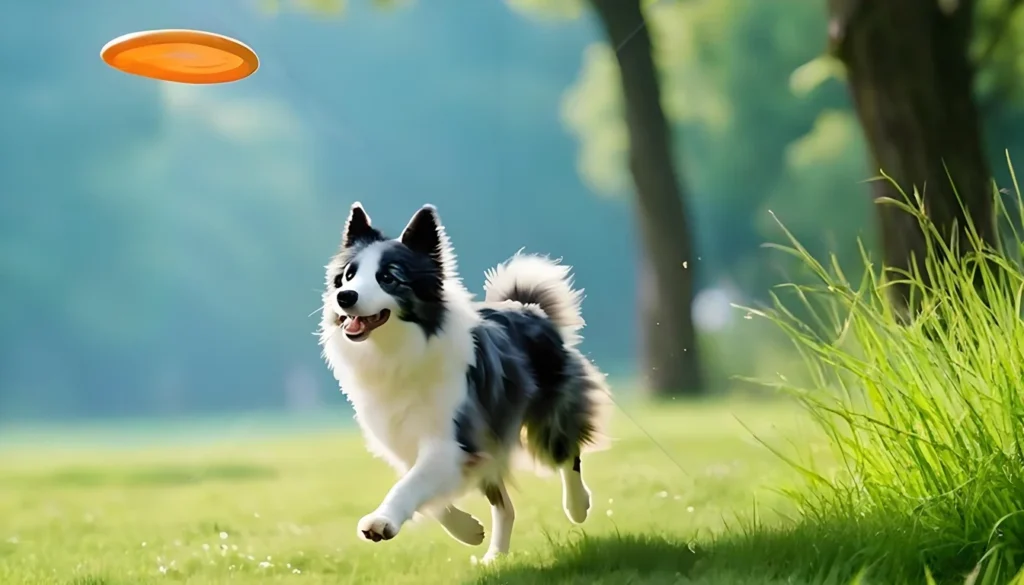
I see jumping as a way for dogs to have fun and express themselves. It's like playtime for them. It also taps into their natural instincts, like chasing prey or showing excitement. By understanding this, I can train them in a way that's both kind and effective.
I pay close attention to how a dog is feeling. If they're relaxed and their eyes are soft, they're enjoying themselves. But if they're stiff or avoiding eye contact, it's time to slow down.
How play, prey drive, and excitement influence jumping
Playful jumps are usually loose and fun. Dogs see jumping as part of the game, like during fetch. On the other hand, prey drive makes jumps quick and sharp, as if they're chasing something.
Excitement jumps are high-energy and repeated. They can tire a dog out quickly. I use this energy to my advantage when training, making sessions short and fun.
Reading canine body language for comfort and stress
Understanding dog body language is crucial for safe training. I look for signs like breathing changes, ear position, and muscle tension. Panting, yawning, or lip licking can mean they're stressed. But focused eyes and a forward stance show they're comfortable.
I adjust the training based on these signals. This helps when teaching them to jump in a pool or into a vehicle. It ensures they learn confidently and safely.
| Signal | What I interpret | How I respond |
|---|---|---|
| Relaxed face, wagging tail | Comfort and engagement | Increase challenge slightly, reward immediately |
| Focused stance, forward ears | High motivation, ready to work | Use clear cue, short repetition, positive reinforcement |
| Stiff body, tucked tail | Stress or fear | Lower obstacle, change to easier task, offer breaks |
| Rapid panting, lip licking | Overstimulation or anxiety | Stop session, calm reward, shorter future sessions |
| Freezing or avoidance | Avoidance learning or confusion | Remove pressure, rebuild trust with play and targeting |
Basic foundation skills before teaching jumps
I start every jump program by building reliable on-the-ground skills. Strong recalls and steady sits give me control during progressions. Teaching the dog to offer behaviors instead of forcing them makes learning safer and more joyful.
I focus on recall and sit before jumping so the dog will return and settle when asked. Short, frequent practice with high-value rewards keeps the responses crisp. This consistency creates a clear boundary between play and work.
I teach hand targeting for dogs as a primary step toward vertical motion. I hold an open palm, wait for a sniff or touch, then mark and reward. I add a cue such as “touch” or “target” and vary the hand’s height until the dog follows it reliably.
Shaping bridges small movements into full jumps. I lure with a treat above the head and reward each closer approximation: stretch, hop, light lift, full bounce. This gradual approach helps when I later teach how to train dog to jump into arms.
Below is a compact practice planner I use to track progress and stay safe. Each cell lists clear goals, typical rewards, and short session lengths that protect joints and build confidence.
| Skill | Goal | Reward | Session Length |
|---|---|---|---|
| Recall | Come on first whistle from 20 ft | Small soft treat plus praise | 5 minutes, 3 reps |
| Sit from recall | Return and sit within two steps | Food reward and brief play | 5 minutes, 4 reps |
| Hand targeting for dogs | Touch hand at varied heights on cue | Treats initially, then toy | 4 minutes, 6 reps |
| Shaping vertical motion | Progress from stretch to hop to jump | Successive treats, then verbal cue | 3–5 minutes, multiple short sequences |
I phase out physical lures as the dog learns cues like “up” or “bounce.” Once targeting and shaping are solid, I can safely teach how to train dog to jump into arms. Those foundation skills for jump training protect the dog and make learning steady and fun.
How to train dog to jump
I start every jump lesson with a calm, low setup. This lets my dog explore. I place the bar on the ground and let them walk over, sniff, and go through at their own pace. This builds confidence before asking for any jumping.
I use short games to keep their focus forward. I put treats just beyond the obstacle. This teaches them to look ahead and move straight through. It helps them learn a clean take-off and landing.
When my dog shows a clear hop, I start increasing the height slowly. I start with hock or knee level for the first raises. For adult dogs, I only go to shoulder height if they show sound technique and no discomfort.
With multiple jumps, I space them for safety. I keep about four to five meters between obstacles. This helps with rhythm, balance, and confidence.
My training uses lure-and-reward and shaping. I hold a treat above their head or use a target to encourage vertical lift. I reward each clear effort. Once the jump is reliable, I add a short verbal cue.
I keep sessions short and fun to avoid strain. The 3 Ps guide me: patience, practice in short bursts, and perspective. This makes learning fun and reduces injury risk.
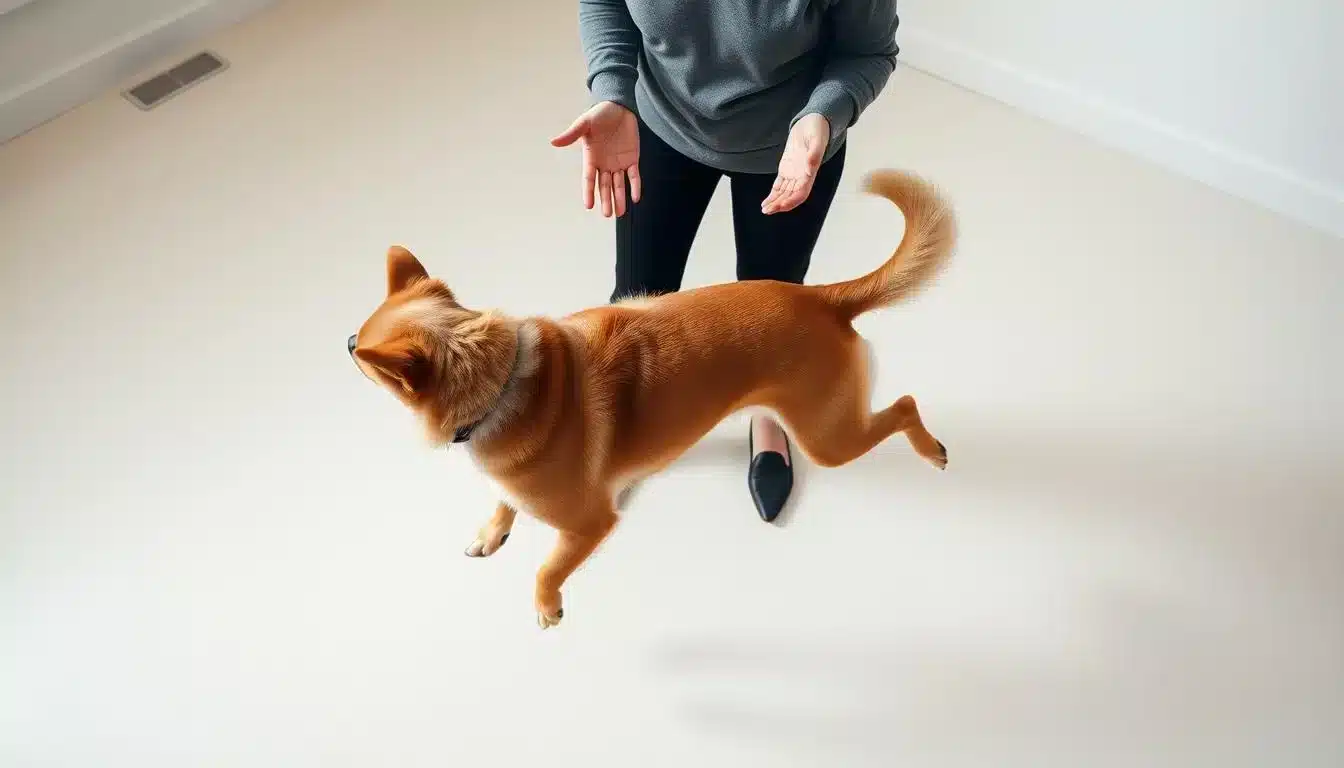
Teaching vertical tricks: jump into my arms and jump for joy
I teach vertical moves in small steps to keep my dog safe and confident. These tricks require targeting, timing, and clear cues. I make sure sessions are short and fun, focusing on safe jump training for joint health and trust.
I start with hand targeting. I hold my palm low and reward a gentle touch. Then, I raise the hand a little each time, so my dog stretches and hops.
I use a treat-lure about 1–2 feet above the head to prompt a jump. I reward immediately and praise. I slowly raise the height, so the dog learns the jump pattern.
Once my dog jumps reliably, I phase out the lure and add a verbal cue. This cue works well for the jump for joy trick.
I shape hopping by reinforcing small improvements. I mark or click each upward motion, then reward. I add a clear cue like “bounce” or “up” only after the hop is consistent.
I always pay attention to safety. I avoid training puppies and senior dogs without vet clearance. I train on high-traction surfaces like carpet, matting, or grass. I limit reps per session to reduce joint stress and follow a pattern of warm-up, work, rest.
When catching my dog, I make sure I'm physically ready and the dog is comfortable. I prefer a chest-level embrace rather than a full body catch to reduce impact. Teaching the dog to land in my arms or chest in a controlled way supports both fun and safe vertical jump training.
Training practical jumps: into car, into pool, and off dock
I focus on real-world skills that keep dogs safe and confident. I break each task into tiny, rewarding steps. This way, dogs learn without fear.
I keep sessions short and upbeat. I watch body language and stop before a dog gets tired.
How to train dog to jump in car using platform builds and rewards
I start by building a stable platform at the vehicle height. A sturdy step, crate ramp, or automotive ramp works well for larger breeds. I teach the dog to step onto the platform and reward every successful step.
I move the platform a few inches toward the car after the dog is comfortable. Next, I reward the dog for stepping from platform into the vehicle. I use high-value treats, praise, and a clear release cue to reinforce forward focus. Repeat with short sessions until the dog loads confidently.
How to train dog to jump in pool with gradual water introduction
I introduce water slowly at the pool edge and let the dog explore shallow areas. Toys and treats lure the dog in while I stay close to reassure them. I practice safe entries and exits first, using steps or a ramp so the dog knows how to get out.
I only progress to jumping when the dog swims comfortably and trusts pool egress. A well-fitted canine life vest adds safety during early attempts. I keep repetition low and praise calm, controlled entries into deeper water.
How to train dog to jump off dock with low heights and safe landings
I teach dock jumps starting from very low heights so the dog learns take-off and landing mechanics. I check depth and remove hazards where the dog will land. I reward small, safe launches and focus on solid, controlled water entries.
I increase height only after consistent, confident landings. I keep sessions brief and track the dog’s energy. Building confidence at low heights prevents bad habits and lowers risk of injury.
Indoor and furniture jumping: teaching to jump on couch safely
I check a dog’s age, weight, and joint health before starting indoor jump training. Puppies and heavy breeds need extra care. If a vet says it's okay, I plan a step-by-step approach to teach good manners.
I teach the dog to target a mat or step first. I reward each step up and add a cue like “up” or “couch.” Short sessions and clear markers help the dog learn one action at a time.
I use a non-slip surface and a low platform. I gradually remove the platform so the dog only jumps on the couch when I say so. This helps the dog learn to jump on the couch only when asked.
When teaching indoor jump training, I keep the number of repetitions low to protect the dog's joints. I watch for any signs of stiffness after practice. If the dog seems sore, I stop and talk to a vet before continuing.
For dogs with arthritis or past injuries, I find jump alternatives. Ramps, pet stairs, and boost cushions are better for their joints. I also teach the dog to wait on the floor until I invite them up. This reduces high-impact entries.
My last tip is to be consistent. I reward correct behavior every time at first, then reduce treats as the cue becomes reliable. This way, my home stays calm, my dog is safe, and the furniture is protected.
Agility-style training: hurdles, hoops, and through-arms tricks
I break agility skills into small, safe steps so my dog enjoys learning and stays healthy. In backyard agility sessions, I keep training short. I warm up with light play and pick non-slip ground. This way, I can work on hurdles, hoops, and through-arms without rushing technique or risking joints.
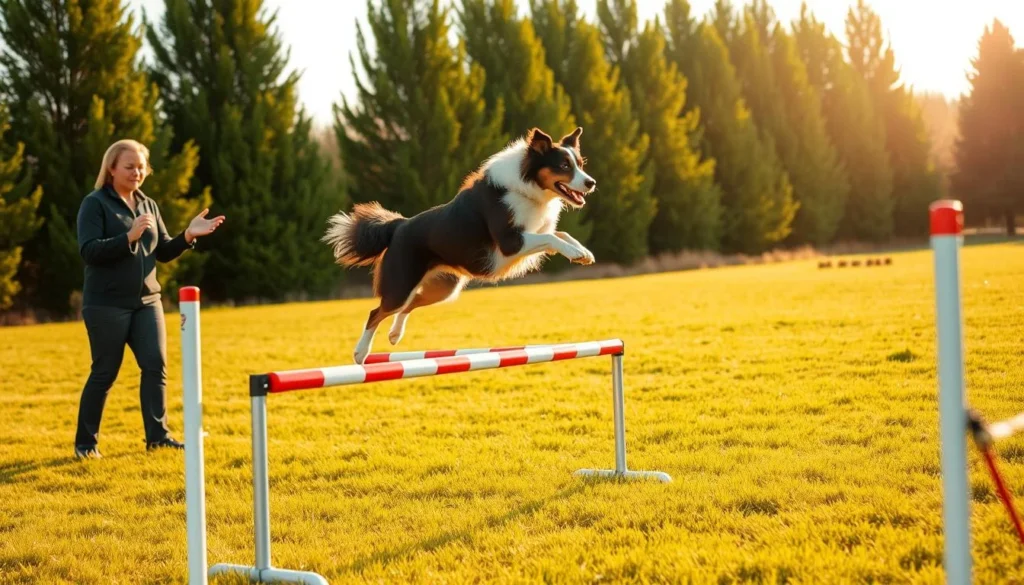
I start every hurdle lesson with the bar on the ground and let the dog explore. For training to jump over hurdles, I reward a straight approach. I place treats beyond the obstacle so the dog aims forward. I raise the bar slowly from hock-level to shoulder height only when the dog shows clean, comfortable jumps.
Spacing matters when I set multiple jumps. I use at least 4–5 meters between obstacles to give a safe take-off and landing zone. I keep repetitions low and use high-value rewards to keep motivation high during backyard agility practice.
To teach how to train dog to jump through hoop, I begin with the hoop flat on the ground and reward any walk-throughs. I shape the behavior by rewarding walking, then stepping, then trotting through. I avoid forcing the dog and keep the hoop low until the dog is relaxed and confident.
When the dog willingly goes through the hoop on the ground, I raise it a little and reward successes. I use short, upbeat sessions and mix in known cues so the dog links the hoop to a positive outcome.
For how to train dog to jump through arms, I practice with very low arm heights at first. I stand steady, create a clear channel, and reward when the dog clears my arms without contact. I add a verbal cue and time my release so the dog learns to jump on command.
I always check footing and limit repetitions to protect joints. I step aside to give the dog a straight line and use praise plus treats for correct timing. That combination keeps the trick safe and repeatable in backyard agility drills.
| Skill | Starting Point | Progression | Safety Tip |
|---|---|---|---|
| Jump over hurdles | Bar on ground, let dog inspect | Raise to hock-level, then shoulder when ready | Keep 4–5 meters spacing; limit reps |
| Jump through hoop | Hoop flat on ground; reward walk-throughs | Shape walk → step → trot; then lift slightly | Use high-value rewards; never force |
| Jump through arms | Low arm height; stable stance | Add verbal cue; raise arms gradually | Non-slip surface; step aside to create a channel |
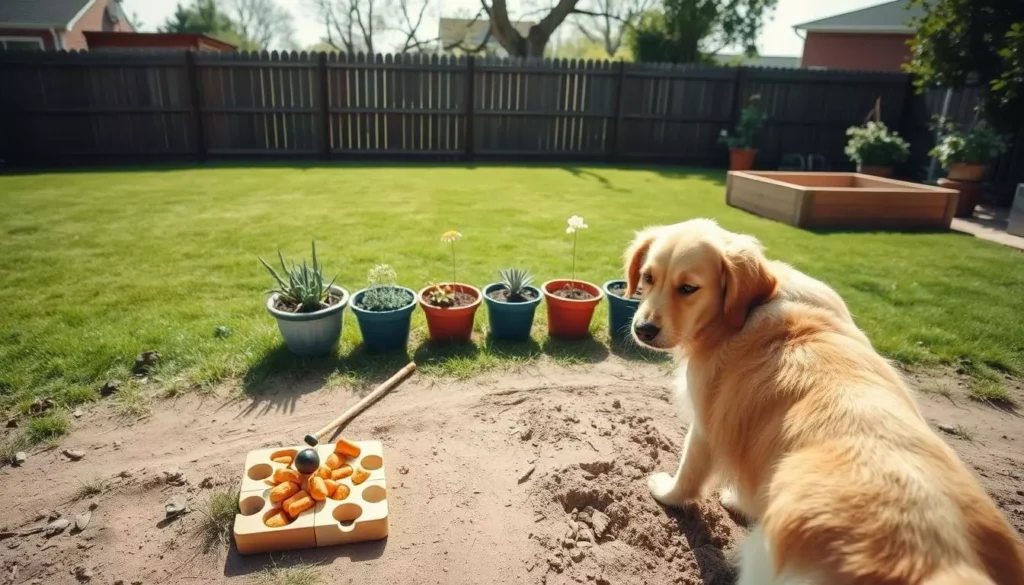
DIY equipment and course setup for backyard training
I prefer simple, safe gear for my dog's training. A basic agility course can be made with everyday items. Make sure the equipment is light and the path is clear.
I often start with a buckets and broomstick jump. Use two sturdy buckets or overturned Tupperware bowls. Rest a lightweight broomstick or PVC pipe across them. Adjust height by switching to smaller containers. The bar should tip easily to reduce impact when the dog clips it.
For spacing, I leave at least 4–5 meters between jumps. This gives my dog a proper runway for take-off and a safe landing zone. For tighter skill work, I create gentle curves, but I keep approach angles predictable.
Surface choice matters to me. I prefer grass, rubber mats, or outdoor carpet for traction. I avoid concrete, tile, or hardwood when working on higher-impact elements. Portable surfaces let me vary conditions and reduce repetitive stress on joints.
I keep a small kit with extra bars, cones, and a few lightweight platforms. Portability lets me change the course layout often, which keeps practice fresh. Short, frequent sessions with varied setups help with engagement and steady progress.
Below I compare common DIY jump components so you can pick what fits your yard and dog.
| Component | Pros | Cons | Best Use |
|---|---|---|---|
| Buckets and broomstick jump | Cheap, adjustable height, lightweight | Less stable in wind, needs supervision | Intro jumps and low-height practice |
| PVC pipe on cones | Durable, easy height changes, stable setups | Harder bar fall if clipped; choose light pipe | Progression toward regulation-height hurdles |
| Foldable agility poles | Portable, quick layout, consistent spacing | Higher cost, may need anchoring on soft ground | Sequence work and short courses |
| Rubber mats / outdoor carpet | Good traction, protects joints, portable | Can shift if not secured | Take-off and landing zones |
| Lightweight platforms | Teaches targeting and approach control | Requires supervision to avoid slips | Precision work and start/finish markers |
When I practice how to train dog to jump over hurdles, I focus on short runs and clear cues. I watch for fatigue and adjust layout if my dog gets sloppy. A well-designed backyard agility course that uses DIY dog jumps keeps training fun and lowers injury risk.
Training tips to keep sessions fun, effective, and injury-free
I focus on short, playful sessions that build skill without strain. Use a mix of rewards to keep your dog eager. Test treats, balls from Kong, or praise from trainers like Victoria Stilwell to learn what motivates your dog most.
Find what motivates your dog
I try a reward rotation: small, high-value treats for precise jumps, a quick toy toss for excitement, and verbal praise to reinforce timing. This approach delivers practical dog jump training tips while keeping each rep fresh.
Watch body language and energy
I always monitor dog fatigue during every session. Look for slower approaches, shortened strides, limping, or a change in tail carriage. If any sign appears, stop and let the dog rest. When uncertain, I consult my veterinarian to rule out injury.
Progress slowly and deliberately
I increase height only when the dog repeats clean, confident jumps. I keep sets short and repeatable. Consistent repetition followed by gradual increases protects joints and strengthens muscle memory. These steps are essential for how to train dog to jump in car and other real-world tasks.
- Limit sessions: five to eight minutes per set for vertical work.
- Vary rewards: alternate treats and toys to keep interest high.
- Record progress: note reps, height, and any stiffness after practice.
I aim to keep training fun for dogs while following sound dog jump training tips. By monitoring dog fatigue and moving at a steady pace, I reduce risk and help my dog enjoy training every step of the way.
Conclusion
Teaching my dog to jump starts with safety and understanding their needs. I wait until they are about 12 months old. Then, I check with a vet if needed.
I start on the ground, letting them explore the obstacle. Using forward rewards builds confidence without pressure. This helps them feel secure.
For vertical tricks, I build on hand targeting and raise targets slowly. I use secure surfaces and limit repetitions to avoid injuries. These steps are key to safe training and keep them excited and healthy.
I use lure-and-reward methods and clear cues in my training. I increase height only after they show consistent success. I watch for signs of tiredness and keep sessions short and fun.
This way, my dog can jump confidently for tricks, agility, or even getting into a car or pool. It's all about safety and fun.